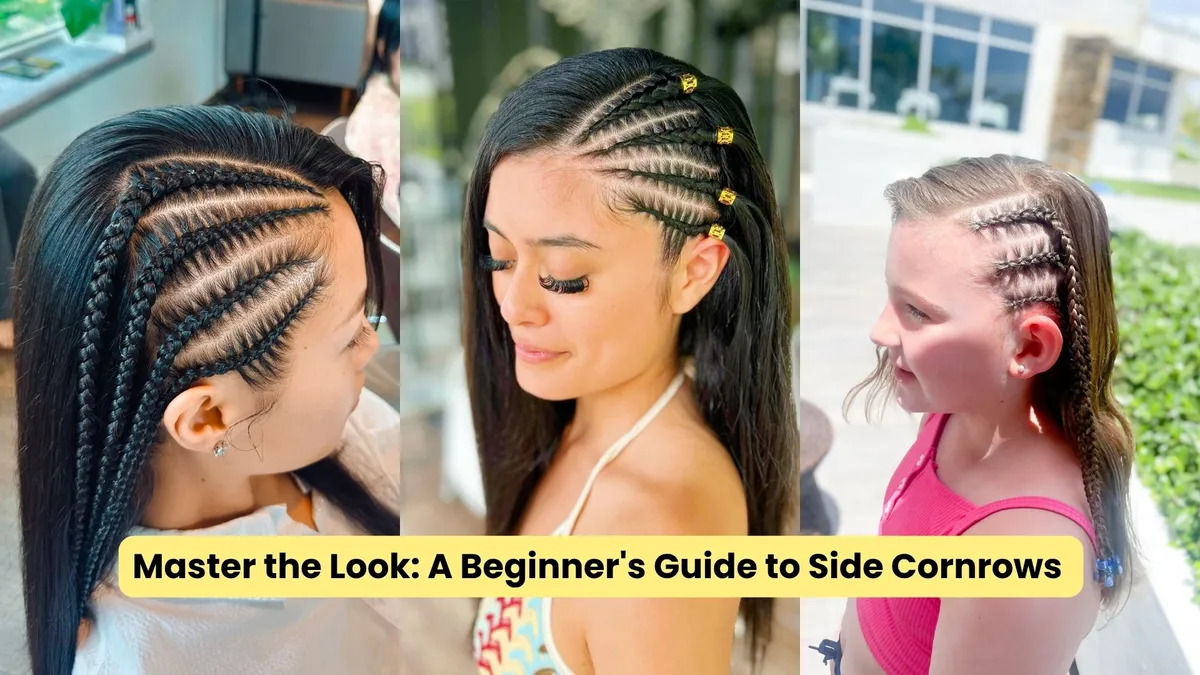
Master the Look: A Beginner's Guide to Side Cornrows
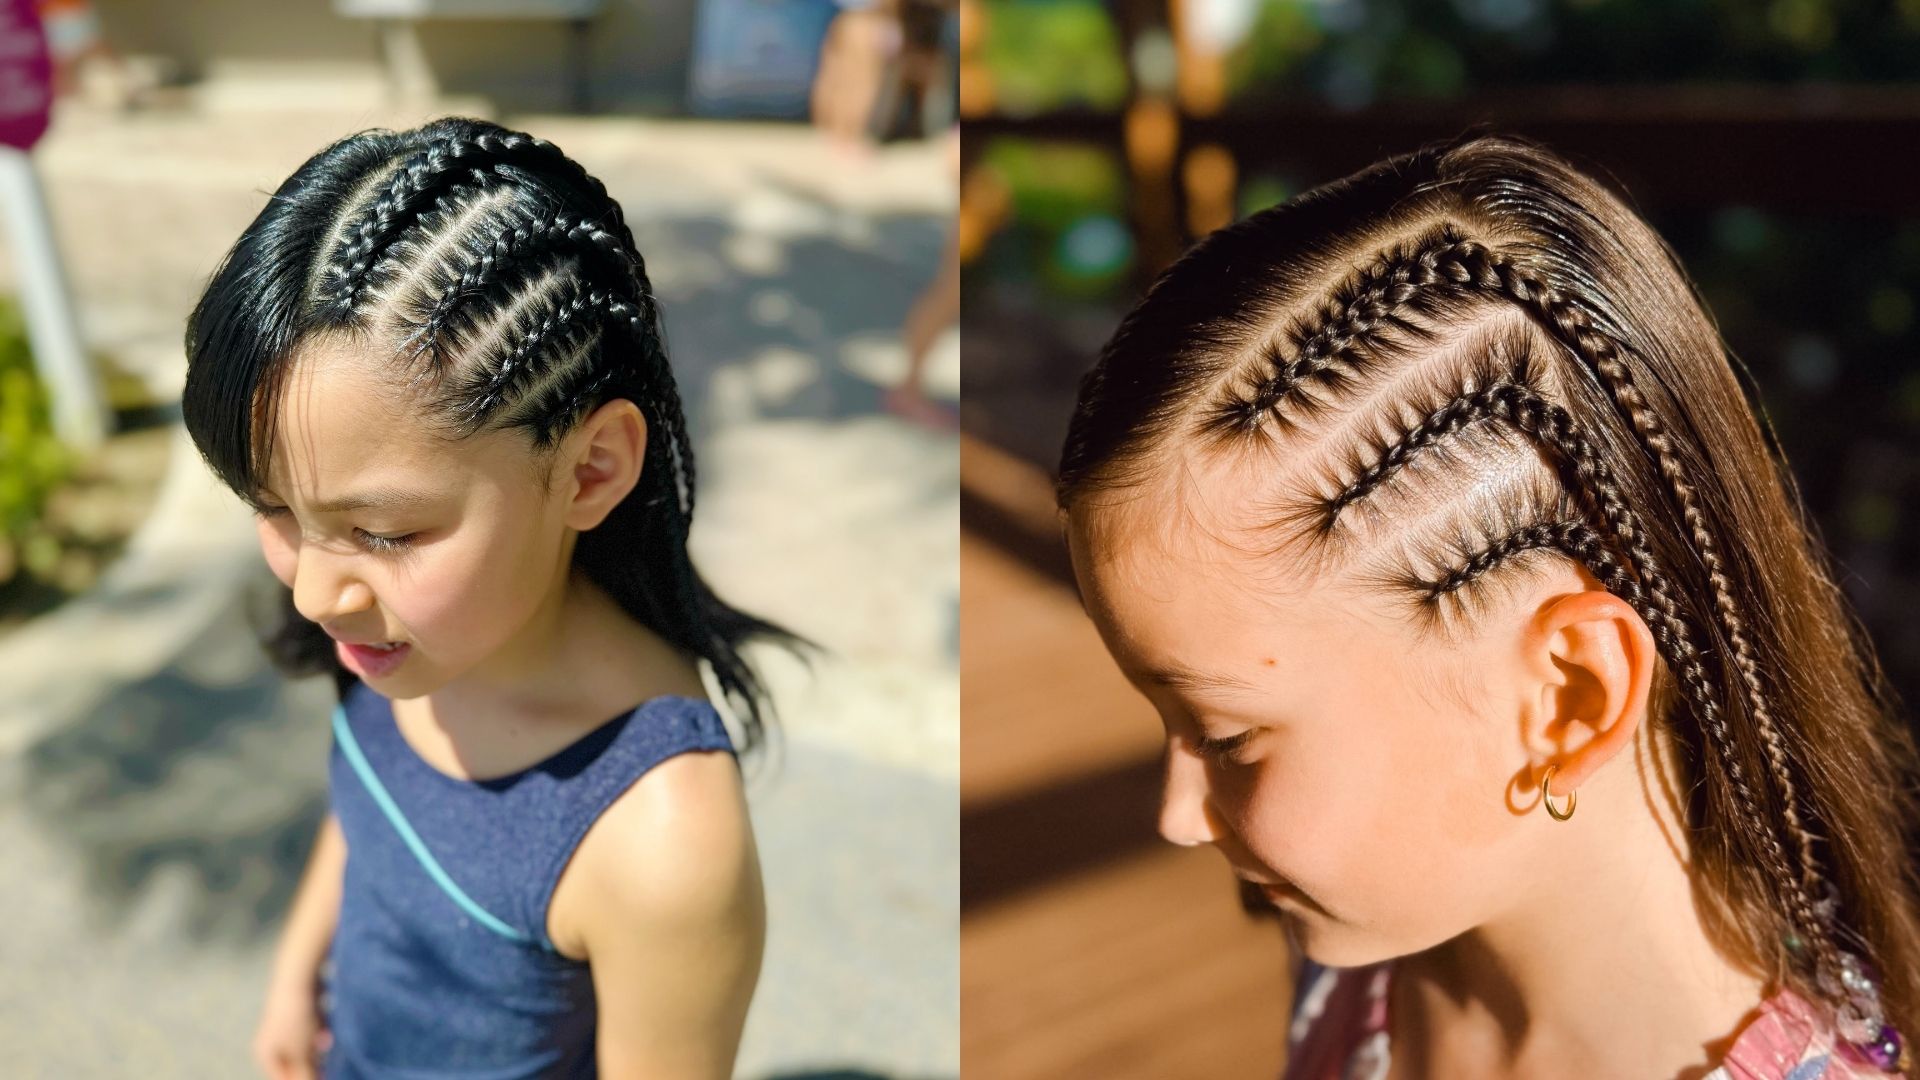
If you have ever scrolled through your social media feeds and said “OMG I want those cute little braids”, or spotted someone walking down the street with a beautiful, striking hairstyle that effortlessly frames their face, chances are you were admiring side cornrows. This timeless technique puts together elegance with an unmistakable edge, making it one of the most popular styles in modern hair care.
If you’re getting ready for a weekend getaway, a music festival, or simply want a protective hairstyle that keeps your child’s hair away from their face, learning how to braid side cornrows is a total game-changer. It’s a fast, easy style even beginners can pull off with hardly any practice, so for those of you who are taking their first steps in braiding, this guide is a must-read!
I believe that mastering new hair skills should be accessible, fun, and entirely stress-free. That has always been my goal since I started teaching how to braid years ago. If you have ever felt intimidated by complex braid tutorials that do nothing but make you second-guess yourself, take a deep breath! This easy braid tutorial for beginners breaks down the process into simple, manageable steps so you can create flawless side cornrows right at home.
Why Side Cornrows Are Widely Popular
There is a reason why side cornrows remain a permanent fixture in modern hair styling—I’ve got firsthand experience as the owner of Puerto Rico’s top-rated braiding studio, Sunny Braids. People are constantly asking for side cornrows! Unlike full-head installations that can take hours to complete, a side-swept or half-head cornrow design offers a stunning, high-impact look with just a tiny fraction of the time and commitment.
Versatility and edge: Side cornrows allow you to experiment with asymmetrical designs. You can keep one side of your hair flowing in long, sleek locks or box braids while the other side is tightly and neatly tucked against the scalp.
Low-maintenance protection: I’ve compared this look in the past to wearing a permanent headband. Many people opt for this style when they practice sports! By keeping your hair close to the scalp, cornrows reduce daily manipulation, helping to lock in moisture and protect your ends from breakage and environmental damage caused by the sun, sand, and wind.
Endless customization: Who said that because a style is simple, it should be boring? From classic straight parts to creative curves, zig-zags, and metallic hair rings, side cornrows serve as a blank canvas for your personal creativity.
What You Will Need Before You Begin
Before diving into your braid tutorial for beginners, gather your tools to ensure a smooth styling session:
A rat-tail comb (for clean, precise parting)
Edge control or styling gel (to tame flyaways and lay edges flat)
Sectioning clips (to keep loose hair out of your way)
A handheld mirror
If you want to know more about braiding products, check out this other guide!
Step-by-Step Instructions: How to Braid Side Cornrows
Mastering these easy braids is all about tension, finger placement, and clean sections. Follow these simple steps to achieve a professional finish:
Step 1: Prep and Part Your Hair
Start with clean and lightly moisturized hair. Make sure it’s also carefully detangled before you begin. Use the tail of your rat-tail comb to carve out a clean section along the side of your head where you want your cornrows to sit. Secure the rest of your hair using sectioning clips so it does not tangle into your working area. If you want multiple side cornrows, plan your parts parallel to one another, ensuring each section is even in width.
I can’t underline enough the importance of proper parting the hair. Any beautiful braided hairstyle begins with clean, clear parts, so make sure you don’t skip or rush this step!
Check out this video on how to create the perfect parts:
Step 2: Apply Styling Product
Take a small amount of styling gel or edge control and apply it directly along your parting line. Smooth it down with your fingers or a smoothing brush. This step is crucial for beginners because it locks down stray hairs and gives your side cornrows that spotless, right-out-of-the-hair-studio appearance.
While there are plenty of hair products available, I always recommend Shine N Jam. I’ve had nightmares with other gels!
Step 3: Start the Underhand Braid
Take a small section of hair at your hairline and divide it into three equal sub-sections. To create a cornrow (which is essentially a French braid done flat against the scalp), you will cross the outer strands under the middle strand rather than over.
Cross the right strand under the middle strand.
Cross the left strand under the new middle strand.
Step 4: Feed in Hair as You Move
As you continue moving backward along your scalp, incorporate a small, clean horizontal slice of loose hair into each strand just before you cross it underneath. Maintain gentle, consistent tension so the braid sits snugly against the head without pulling uncomfortably on the scalp.
Step 5: Secure and Finish
Once you reach the crown or behind your ear, finish off the remaining length with a standard three-strand braid down to the ends, and secure it with a small elastic or tuck it away seamlessly. Repeat the process for your remaining side sections until your design is complete.
You can see the whole process in this video:
Elevate Your Style: Variations and Decorations
Once you have mastered the basic technique, you can enhance your side cornrows by playing with shapes and accessories:
Play with partings: Move away from basic straight lines. You can design gorgeous curved lines, diagonal sweeps, or sharp zig-zags to give your side cornrows a unique artistic twist.
Add accessories: Transform your look instantly by adding gold or silver hair cuffs, rings, or colorful thread woven directly into the braids.
Mix textures: Pair your side cornrows with flowing box braids or loose waves on the opposite side for a striking contrast.
Ready to Take Your Braiding Skills Further?
If you enjoyed creating side cornrows, maybe it’s time to try another hairstyle: How about creating box braids or hair twists? And adding extension hair? Learning how to braid opens up a world of creative possibilities, letting you switch up your look effortlessly while keeping your hair healthy and protected, getting your children ready for school in time, or even turning your newly acquired skills into a profitable business.
Learn how to braid with us; take a free braiding lesson today at howtobraid.com!