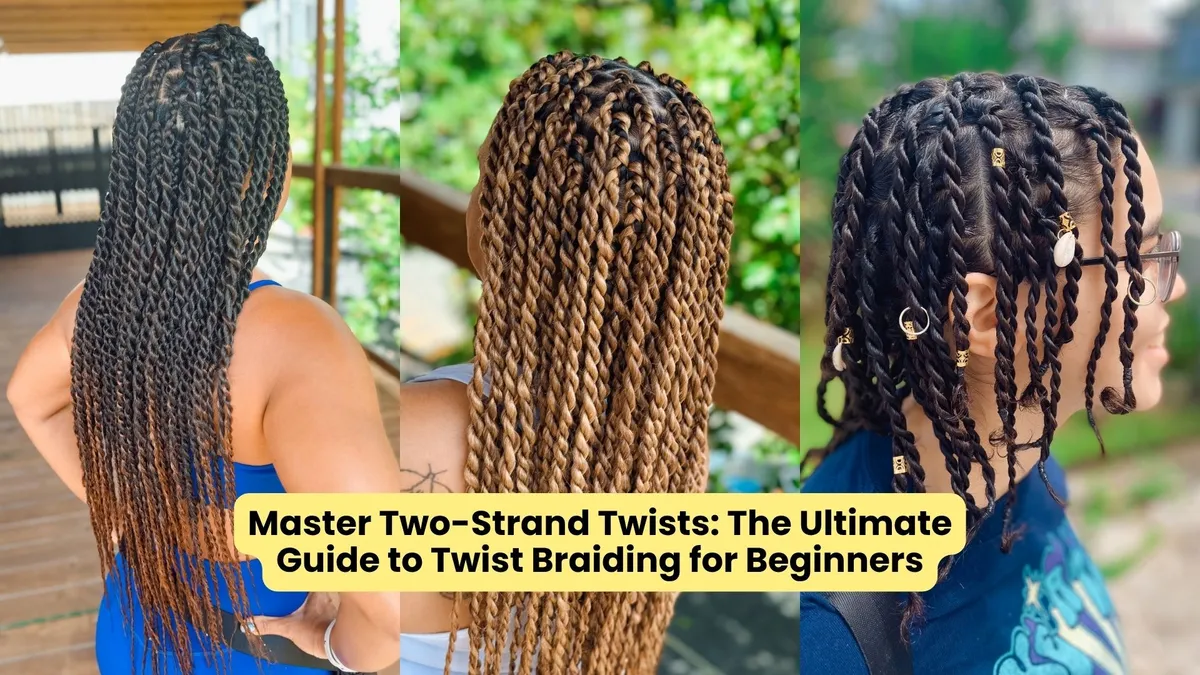
Master Two-Strand Twists: The Ultimate Guide to Twist Braiding for Beginners
Hello, and welcome, beginner braiders! Learning how to braid and style textured hair opens up a world of stunning protective options. But if you are new to hair styling, complex three-strand braiding techniques can sometimes feel a bit overwhelming. That is where two-strand twists come to the rescue! Lightweight and surprisingly simple to master, hair twists offer many protective benefits of traditional braids with half the complexity.
Whether you want a long-lasting protective style for natural hair or simply want to expand your salon skill set, this easy braid tutorial will guide you through everything you need to know to create beautiful twists. We will cover the major differences between popular protective styles, essential preparation and products, a complete step-by-step technique, and key maintenance tips.
Twists vs. Box Braids and Cornrows: Understanding the Difference
Before grabbing your rat-tail comb and styling gel, it helps to understand where twists fit into the broader family of protective hairstyles. Beginners frequently ask how twists differ from traditional box braids or cornrows. While all three options keep natural hair protected from daily manipulation and environmental factors, they are not created the same way and look quite different too.
We’ve seen how box braids are created by sectioning the hair into square or rectangular boxes across the scalp and doing a traditional three-strand braid from root to tip. Because of how tightly three strands intertwine, box braids are the perfect long-lasting style, as you can often leave them on up to three weeks (or more with extensions). However, three-strand box braids can be a bit heavy and place tension on the scalp, which might prove uncomfortable for sensitive heads or fragile edges.
Cornrows, also known as scalp braids or canerows, similarly utilize a three-strand braiding structure. The key distinction is that cornrows are braided directly flat along the scalp in continuous rows or intricate geometric patterns. Stylists often make the design pop off the head. Cornrows don’t take as long as box braids and stay in place (as they’re attached to the scalp), but they generally require earlier retouches than individual box braids or twists.
Now, let’s go to two-strand twists! This hairstyle offers a lightweight, highly flexible alternative. Unlike three-strand styles, twists use only two equal sections of hair wrapped around each other from the root down to the ends, creating a distinctive rope-like pattern. Because you are working with two sections instead of three, twists install much faster than full box braids and apply virtually zero tension to the hair follicle, which makes them the perfect choice for people with sensitive scalps. While twists can unravel more easily on silkier hair textures, naturally kinky, coily, and curly textures grip the twist pattern beautifully, keeping them secure and stylish for a long time.
Essential Products for Hair Twists
Achieving bright, long-lasting hair twists depends on choosing the proper braiding products. If you skip preparation and lack the essential tools, you may end with frizzy roots, uneven sections, and premature unraveling. So gather these essential items before you begin your braiding session:
Rat-tail comb: A wide-tooth comb is necessary for detangling, while a fine-toothed metal end rat-tail comb ensures sharp, clean grid parting across the scalp.
Clarifying shampoo and deep conditioner: Clean, thoroughly hydrated hair forms the essential foundation for any successful protective style.
Leave-in conditioner & natural oils: A hydrating leave-in lotion keeps natural strands flexible under the twist, while light oils such as jojoba or argan lock moisture into the hair section, protecting its health.
Braiding edge control gel or jam: A firm-hold, non-flaking styling gel is crucial for smoothing the roots and keeping flyaways tucked tightly into the twist. I always recommend Shine N Jam.
Sectioning clips: Sturdy alligator clips keep unbraided hair out of your way while you focus on each individual section.
See the preparation here:
How to Braid Hair Twists: Step-by-Step Instructions
Now that your hair is freshly washed, deep-conditioned, and thoroughly detangled, you are ready to learn how to braid hair twists. Follow this clear, beginner-friendly method to execute clean, long-lasting twists every single time.
Step 1: Prepare and Part the Hair
Start on clean, damp, or stretched, blow-dried hair. Apply your favorite leave-in conditioner evenly throughout the mane. Using your rat-tail comb, divide the hair into manageable quad-sections and clamp three of them out of the way using sectioning clips. Use the tip of the comb to isolate a single, neat square or rectangular sub-section of hair. Apply a small dab of styling gel along the perimeter of the root to ensure clean lines and smooth flyaways.
Step 2: Establish Equal Tension at the Root
Divide your isolated section of hair into two equal strands, holding one in your right hand and the other in your left hand. To prevent the root from sagging or loosening over time, you must establish a secure foundation. Smooth each strand down from the scalp using a tiny touch of styling gel between your fingertips.
Step 3: Master the Twist-and-Wrap Technique
The secret to creating twists that never unravel lies in combining individual strand rotation with overall section crossing. You are not simply crossing two flat pieces over each other; you are building rotational tension. Rotate the strand in your right hand inward toward your face while simultaneously rotating the strand in your left hand outward.
Next, wrap the two strands around each other in a counterclockwise motion. Use your left middle finger to reach underneath, grab the right strand, and sweep it under the left strand. Repeat this continuous rhythm: twist both individual strands to create internal tension, then wrap the right strand underneath the left strand. Maintain steady, gentle tension as you work down the length of the hair to create a uniform, firm rope effect.
See the technique in this video:
Step 4: Seal the Ends Smoothly
Continue the twist-and-wrap movement all the way down to the ends of the hair. As you reach the last half-inch of the strand, apply a tiny drop of hair oil or gel to your fingertips and twirl the very tip of the hair around your finger in a smooth circle. This seals the end's natural coil, securing the twist without needing rubber bands. If you are working with synthetic extension hair, dipping the finished tips safely in hot water seals the synthetic fibers permanently.
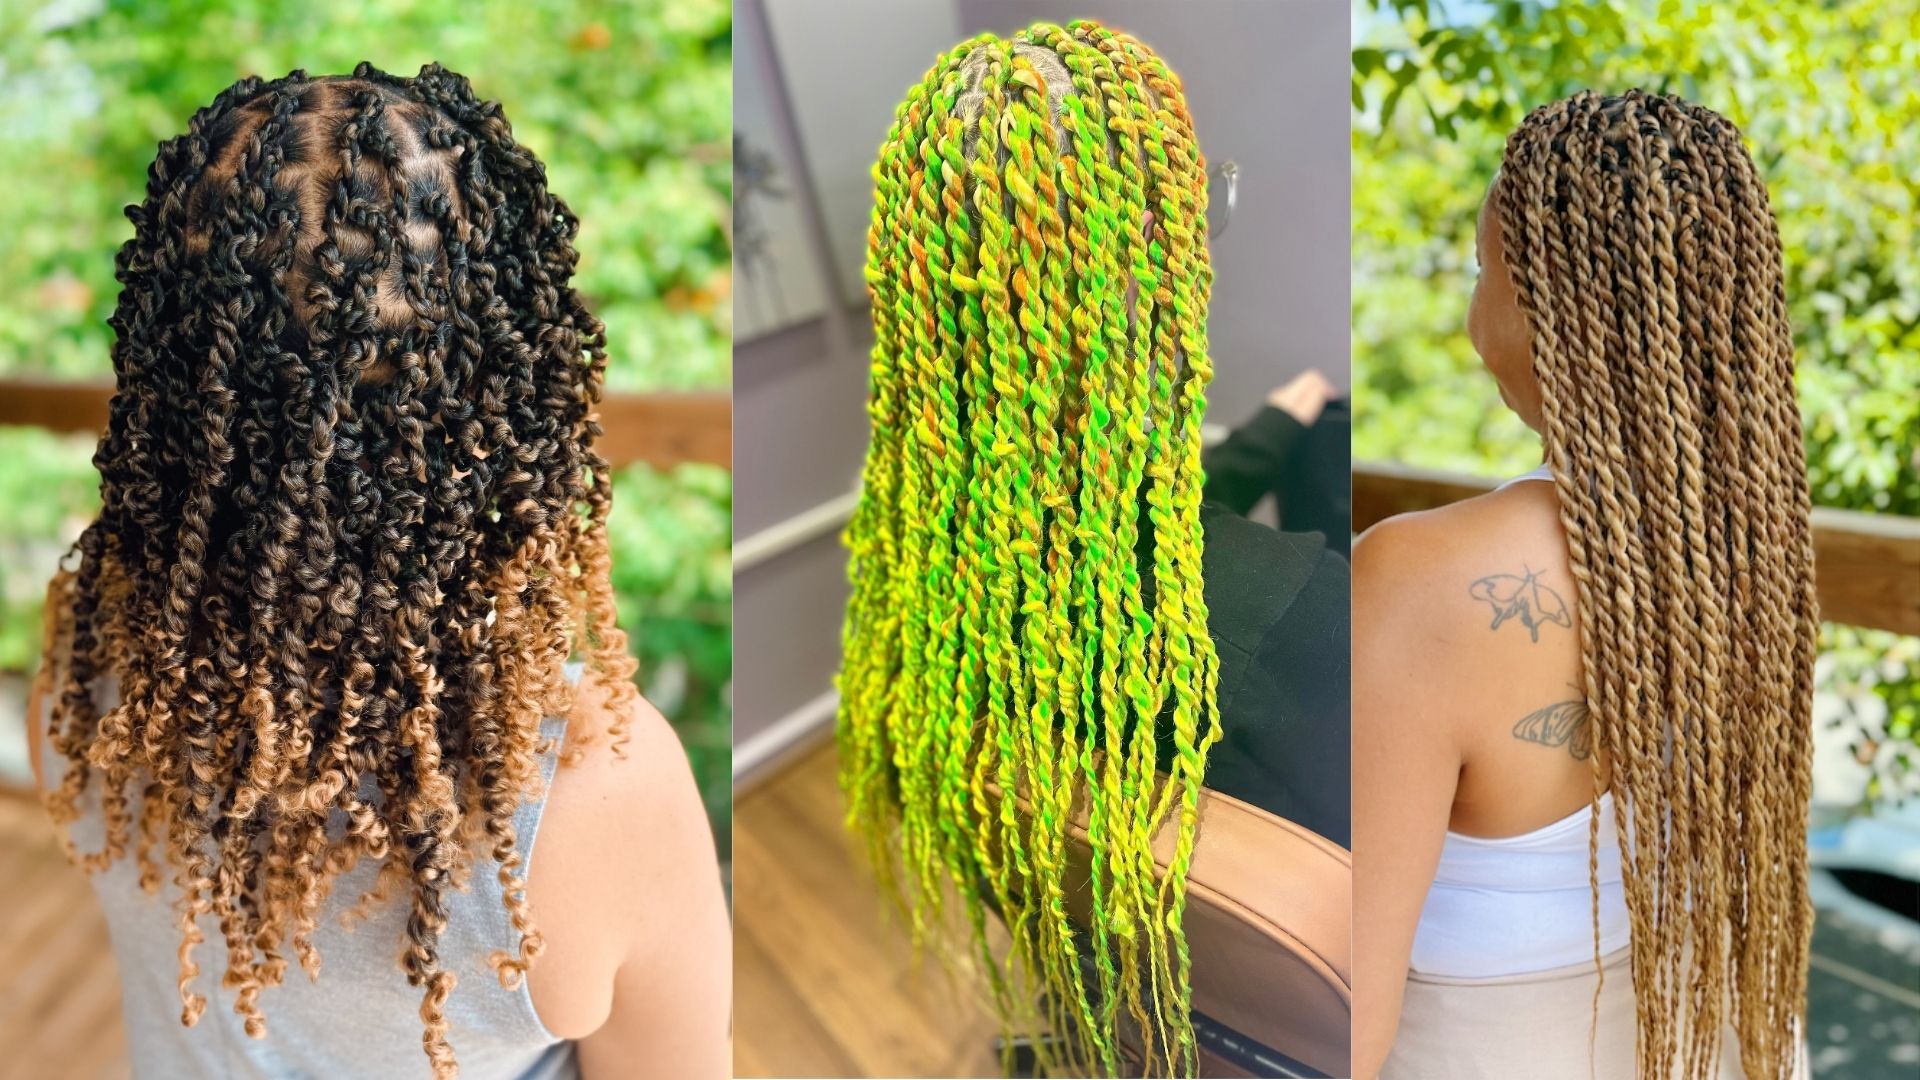
See the gorgeous final result here:
Professional Tips for Long-Lasting Twists
Even the cleanest twists require thoughtful daily care to maintain their definition and keep frizz at bay. Incorporate these practical habits into your regular hair routine:
Nighttime Care Routine
Protect with Silk or Satin: Never sleep directly on cotton pillowcases, which absorb essential moisture and create friction fuzz. Wrap your twists tightly in a satin bonnet or silk scarf before bed.
Hydrate the Scalp: Apply a lightweight scalp oil two to three times a week along your partings to soothe the scalp and promote healthy hair growth without heavy product buildup.
Hair Washing Routine
Don’t Overwash: Avoid over-washing your twists while they are installed, as direct friction under running water causes two-strand styles to expand and unravel.
Use a Dry Cleaning Product: Maintain the hygiene of your scalp using a cotton pad saturated with diluted witch hazel or a specialized dry scalp cleanser along your grid lines.
Master the Art of Braiding Today
Two-strand twists remain one of the most stylish, protective, and rewarding hair skills you can learn. They’re lightweight, look beautiful, and aren’t hard to install. Whether you want to braid professionally or just style your kids before school, mastering this versatile style empowers you to express your creativity while maintaining optimal hair health.
Ready to take your hair styling skills to a professional level? Learn how to braid with us! Even if you are a total beginner braider, join a free braiding lesson today and get ready to unlock your full potential.