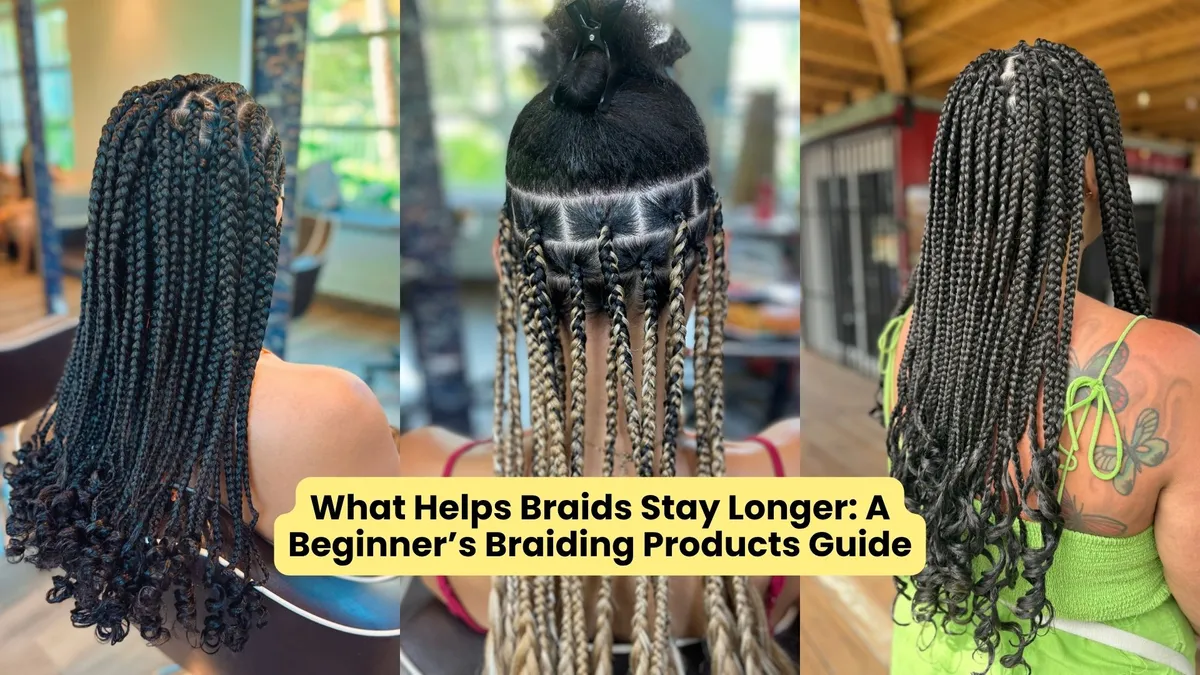
What Helps Braids Stay Longer: A Beginner’s Braiding Products Guide
Ever wonder why some braids stay beautiful and defined for weeks, while others start to frizz, loosen, or lose their structure after just a few days? Here’s a secret: Longevity starts before you even cross your first strand! Long-lasting braids depend on choosing the right braiding materials for every stage of the process.
If you’re a beginner braider, this guide is for you: You’ll learn how using professional-grade products, precision combs, and specialized styling accessories transforms your workflow, protects the natural hair beneath, and ensures your finished look stays tight, secure, and fresh for weeks.
Here is a breakdown of the essential materials you need at each stage of the braiding process (the same we use in our professional braiding studio in Puerto Rico) and how to use them effectively to make your braids last as long as possible.
Stage 1: Preparation & Precision Parting Materials
Clean parting lines look amazing, but most importantly, they are structurally vital to a long-lasting style. Loose flyaways around the base of a braid easily snag, absorb humidity, and cause early fuzziness along your sections. To properly part hair and create a clean base that holds up over time, you need materials designed for maximum control.
Braiding Comb: Standard plastic combs can bend under tension and create jagged, uneven parting lines. A fine-toothed rat tail comb with a slender stainless-steel pin end allows you to trace razor-sharp, straight lines across the scalp without snagging the hair shaft.
Conditioning Braiding Jam or Extra-Hold Edge Gel: Selecting the right product for your hair texture makes all the difference! Look for alcohol-free braiding jams that contain conditioning oils (such as castor oil or argan oil). These products offer strong grip without drying out the natural hair.
Sectioning Hair Clips: Duckbill clips or heavy-duty alligator hair clamps keep surrounding unbraided hair out of your workspace, preventing stray hairs from pulling into adjacent braids and causing tension bumps or uneven lines.
Pro Technique: The Efficient Gel Application
Many beginners make the mistake of picking up tiny, repetitive dabs of gel as they attempt to clean up their sections piece by piece. This habit slows down your workflow, distributes product unevenly, and weakens the hold along the parting line.
To maximize hold and speed up your prep, scoop out a generous amount of braiding jam right from the start. Smooth the product down the entire length of the parting line at once in as few passes as possible. Once the product is laid down, use the precision end of your comb to sweep and lay all flyaways flat, then comb the natural hair directly toward the center of the section rather than straight back. Prepping your sections toward the center locks every hair into the core of the braid, ensuring the root remains neat and tight long after you finish.
See how we do it in this video:
Stage 2: Securing Extension Hair
The materials you use to anchor your braids set the structural limit of the style. If your extension hair is slippery, heavy, or poorly suited for the natural hair texture, the base will gradually slide down the hair shaft, leading to sagging and root matting.
Pre-Stretching Kanekalon Braiding Hair: High-quality, pre-feathered synthetic hair is essential for seamless blending and balanced weight distribution. Pre-stretched fibers feature ends that mimic natural hair growth. They’re perfect for feeding in extra length smoothly without creating bulky knots that slip off the natural root.
Latch Hook Needle: A sturdy latch hook tool is a game-changer for feed-in styles, crochet braiding, and anchor work. It allows you to loop and anchor thread or extensions directly near the scalp with surgical precision, saving your fingers from fatigue and ensuring the base remains completely secure.
Beading Loader & Crafting Tools: If you are adding decorative elements or heavy beads to the ends of your braids, a flexible wire beading tool or latch hook allows you to slide beads onto the braid in seconds without fraying the ends or pulling individual strands out of place.
See how we start a traditional box braid with extension in this video:
Stage 3: End-Sealing & Curling Gear
How you finish the ends of your braids determines whether the style stays intact or unravels way too soon. Unsealed synthetic ends expand, rub against clothing, and catch on friction, which gradually works its way up the braid shaft. Selecting the right tools to shape and set the ends keeps the style locked in place.
Cold Wave Perm Rods: For curled ends, standard rubber bands or plastic flexi-rods often slip or uncoil during the dipping process. Perm rods feature built-in rubber bands that securely clamp the hair down, locking in defined texture from small spiral curls to broad body waves.
Boiling Water Basin: The hot water thermal setting is the absolute gold standard for locking synthetic Kanekalon hair into place. Exposure to high heat temporarily softens the synthetic polymers, causing them to remold into whatever shape they are held in as they cool.
The Thermal Setting Method for Sealed Ends
Smooth Wrap: Wrap the tip of the synthetic braid smoothly around a cold wave perm rod, rolling upward to your desired curl height. Use small rods for tight, springy curls and larger rods for loose, flowing waves.
Precision Hot Water Dip: Gently submerge the wrapped perm rods into a container of boiling water for exactly 10 seconds. This brief thermal shock softens the synthetic fibers and forces them into the new rod shape immediately.
The Golden Rule (Cooling Phase): Always allow the hair to cool completely for several seconds while still wrapped around the perm rod. The cooling phase is what permanently locks the chemical bond of the synthetic fiber into shape. Removing the rods while the hair is still hot causes the curl to drop and unravel.
See how we achieve beautiful ends in this video:
Stage 4: Maintenance Materials
Even with the best prep, high-grade extension hair, and thermal sealing, you need to protect braids against environmental friction and moisture loss. Preserving your investment requires a dedicated post-braid maintenance kit.
Foaming Braid Mousse: A lightweight, quick-drying setting mousse lays down residual flyaways, seals down frizz, and makes braids shiny without building up heavy residue on the scalp.
Satin Bonnet or Silk Pillowcase: Cotton pillowcases act like tiny hooks, pulling individual fibers out of your braids while you sleep. A high-grade satin bonnet reduces friction to zero, ensuring your braids stay smooth and frizz-free morning after morning.
Scalp Soothing Oils: A lightweight hair oil equipped with a precision nozzle (featuring ingredients like peppermint, tea tree, or jojoba oil) keeps the exposed scalp hydrated, reduces tension-induced itching, and prevents flaking around your clean parting lines.
Master the Art of Professional Braiding
Having the right products and tools is half the battle, but combining those materials with technique expertise guarantees professional results every single time.
Ready to elevate your technique, refine your parting skills, and build a successful hair care routine? Take our beginner braiding courses with us today and start creating gorgeous, long-lasting braids with total confidence!