How to Braid Box Braids Using the Traditional Method
If you want to be a professional braider, learning how to braid box braids is an essential skill! Many people choose box braids because they are versatile, long-lasting, and promote hair growth by keeping natural hair concealed and protected. Box braids may seem like a complex hairstyle, but the fact is, anyone can learn by following the right system.
While I developed my method for braiding (and teaching how to braid), I discovered every single braid depends on five simple actions: part, grip, feed-in, hide, and seal. Other than creating neat, clean parts, learning how to install extension hair is one of the most important skills when learning how to create box braids.
There are different ways to install box braids, including traditional and knotless methods. With the traditional method, the one we’ll explore in this braid tutorial, the extension hair is attached at the beginning of the braid.
So if you want to learn how to braid box braids, keep reading! In this beginner-friendly tutorial, we’ll break down how to start a traditional box braid with extensions step by step.
What Are Traditional Box Braids?
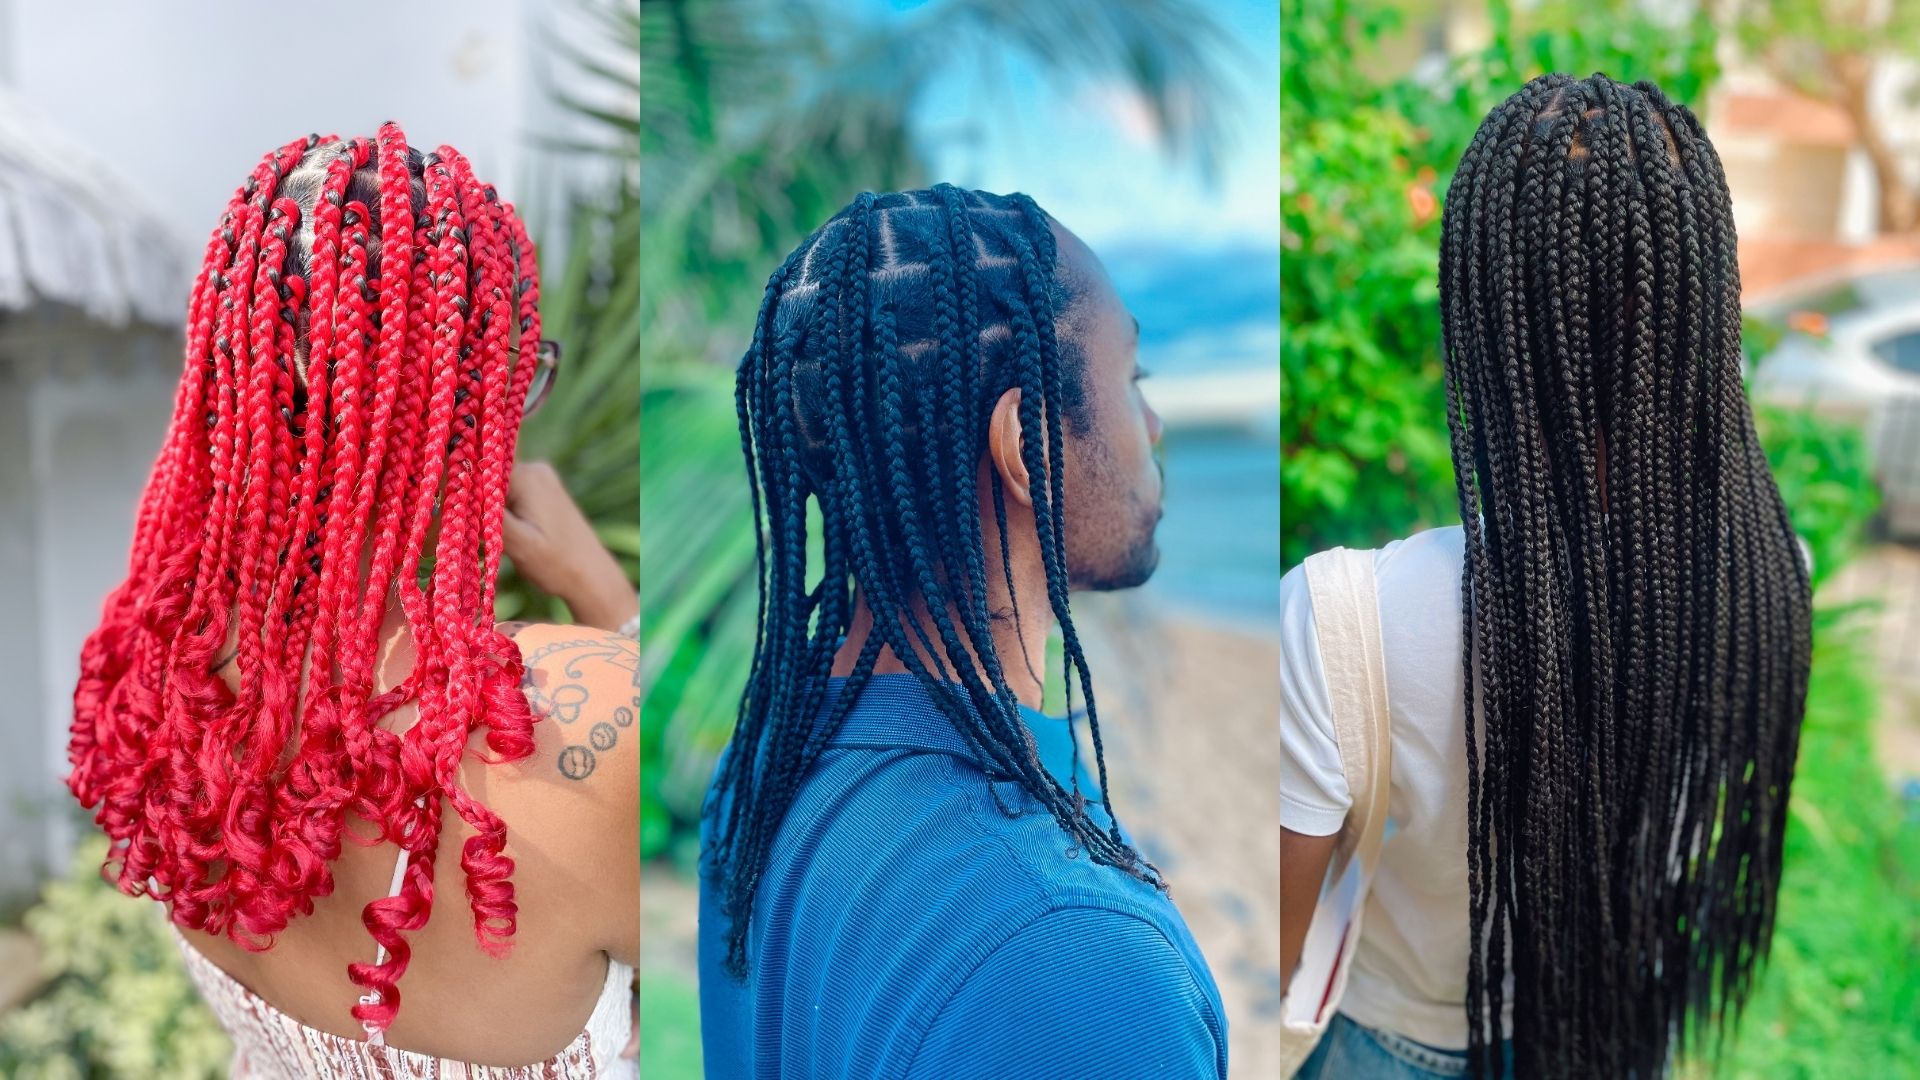
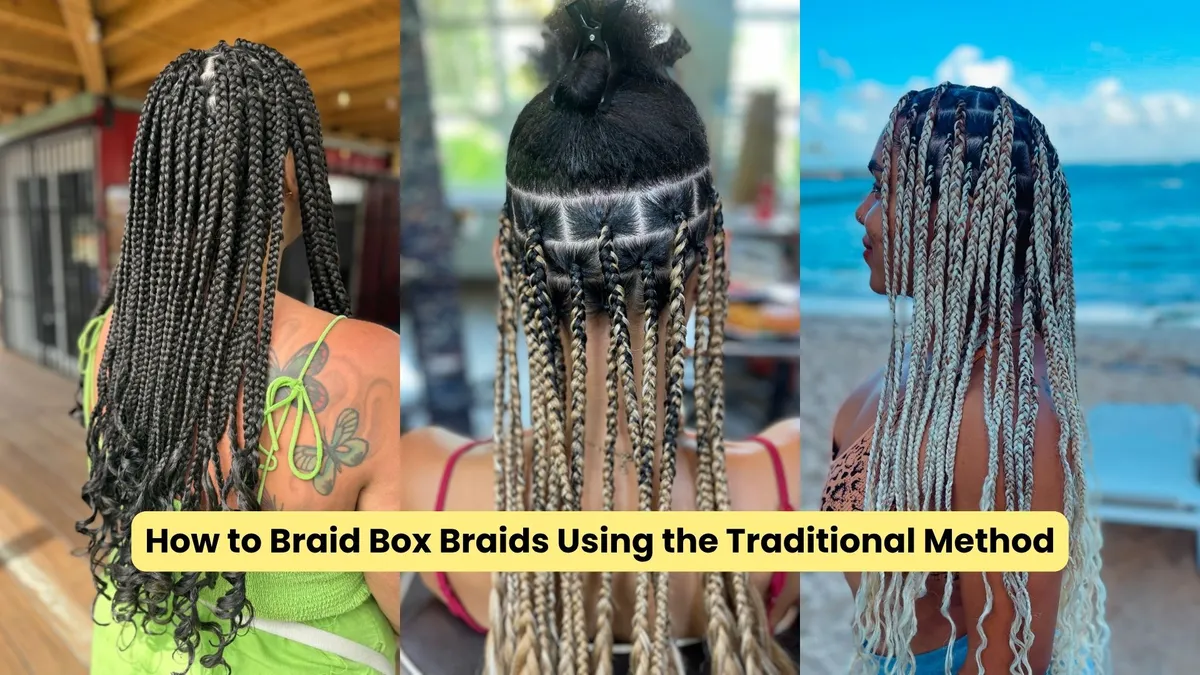
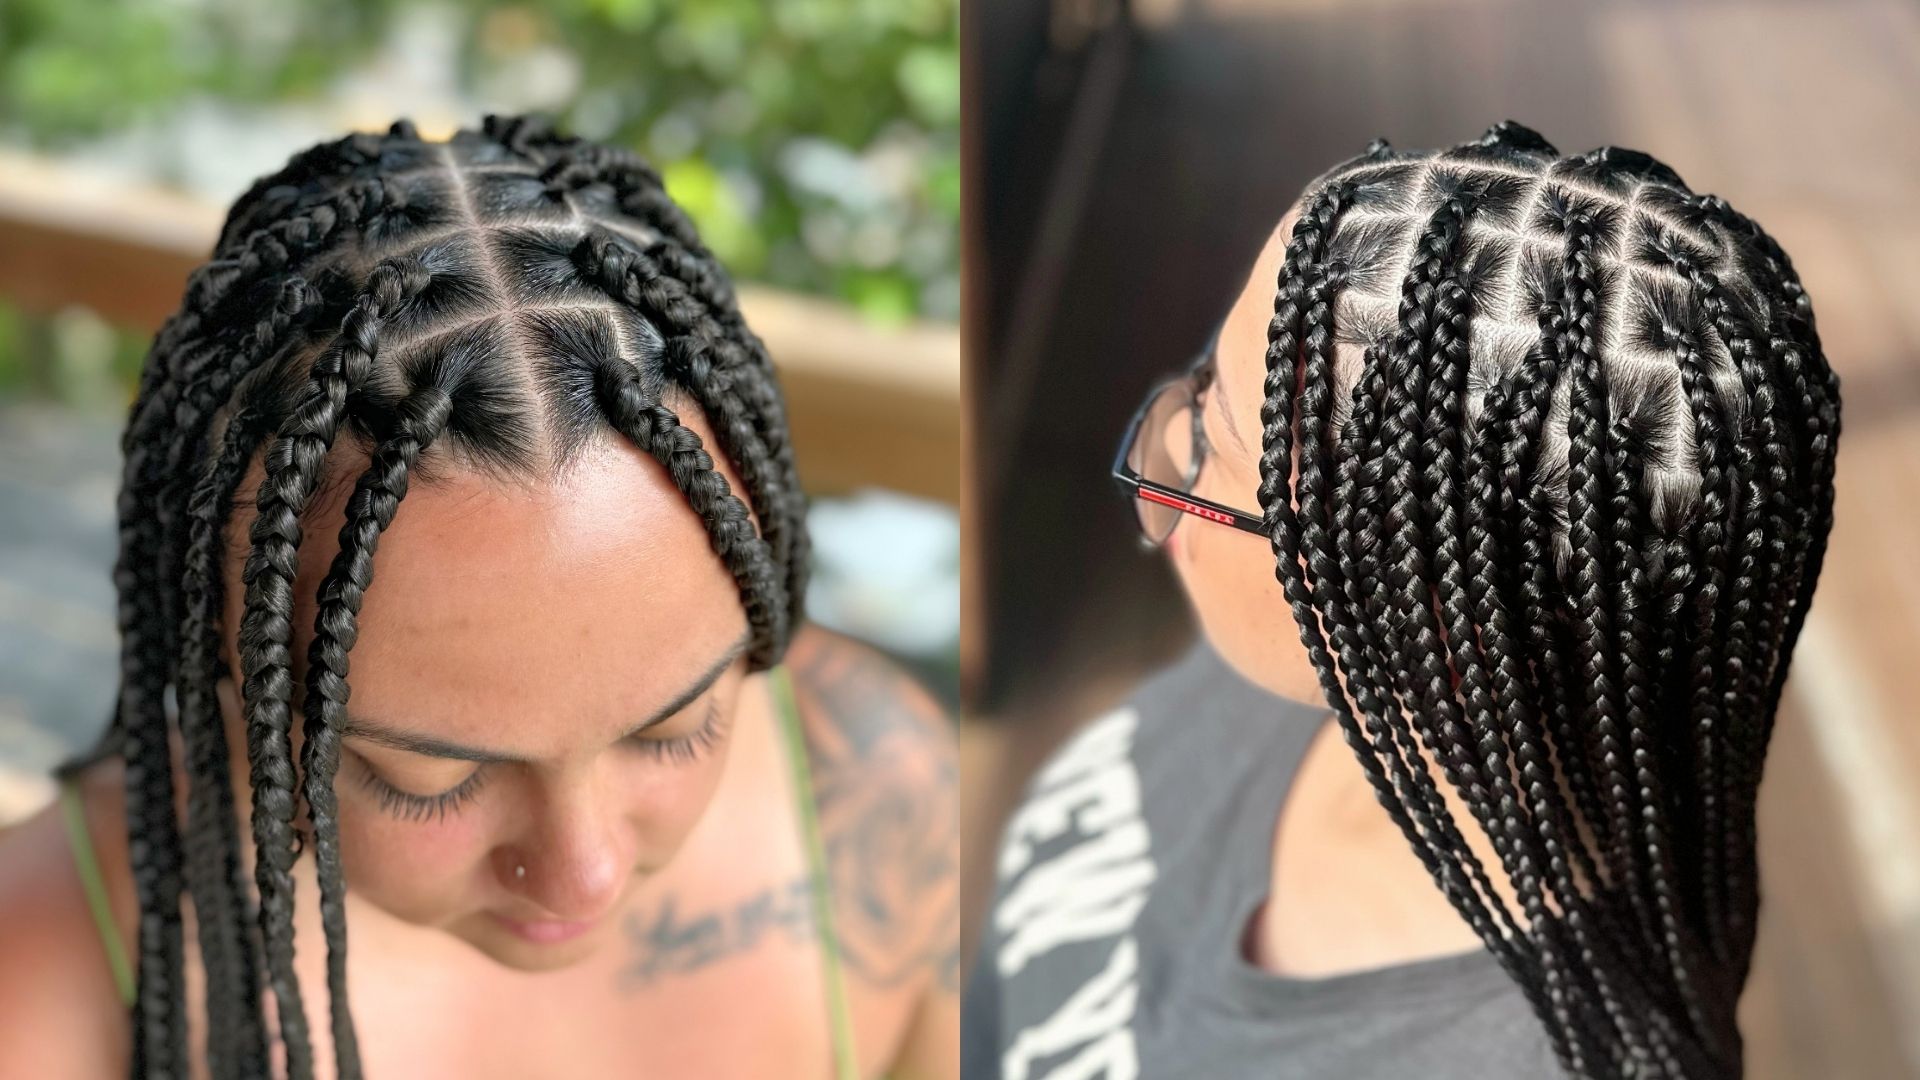
Traditional box braids are individual braids created by dividing the natural hair into sections and attaching extension hair at the root. Before starting to braid, the hair is divided into square sections or boxes.
These boxes come in different sizes. The smaller the size of each box, the more braids you’ll have, and the thinner each braid will be. This is crucial when you’re discussing with your clients how long the braiding process may take! The general rule is that the more braids you have to create, the longer the whole hairstyle will take. In any case, it’s a style that will keep you busy for hours: You may achieve jumbo box braids in 3 hours, but for small box braids, you’ll need more than 6 hours.
There are different types of box braids, and you can even braid them without extensions if your client’s hair is long enough. In this article, I’ll explain how to braid box braids with extensions, which is a very popular style. Creating them isn’t as difficult as you may think! Unlike knotless box braids, where extension hair is gradually added as you braid, traditional box braids begin with the extension hair already positioned around the natural hair.
Once the extension is installed, the hair is braided using a basic three-strand braid technique—but let’s go step by step, because there are a few secrets you must learn.
For the purpose of this article, I’ll skip the process of creating the hair parts, which is essential for box braids. We’ll cover that in other articles. Let’s assume you have already parted the client’s hair and everything is well separated with hair clips. Okay, let’s begin!
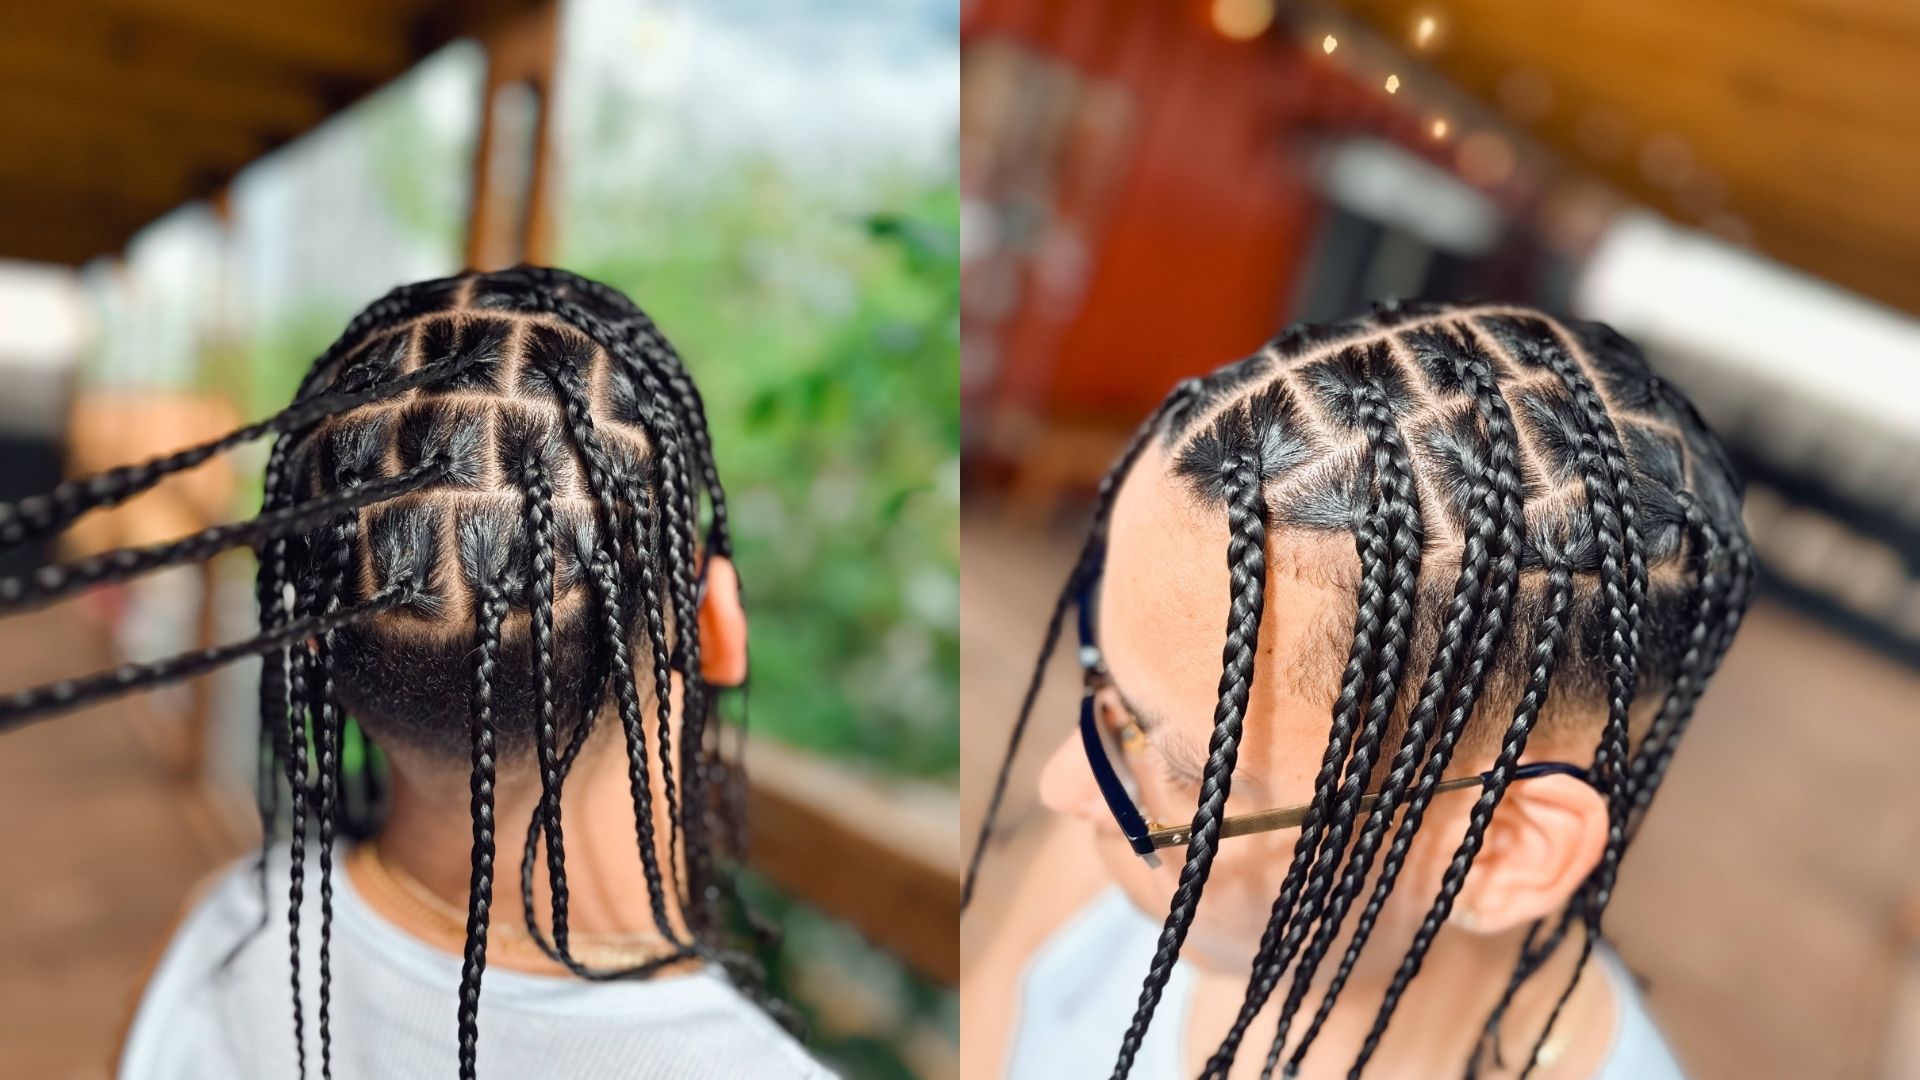
Step 1: Section the Natural Hair
Start with a small section of natural hair where you want to create your braid. Remember that your parting should be clean and clearly defined before you begin adding extension hair.
The amount of natural hair in each section will depend on the size of box braids you’re creating. When in doubt, always refer to our size chart!
(Size charts resource)
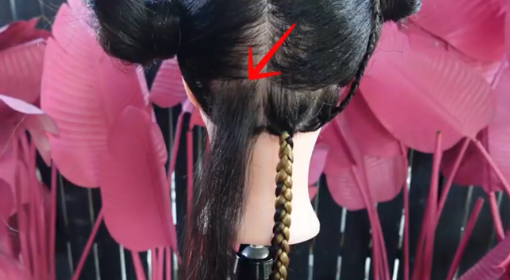
Step 2: Wrap the Extension Hair Around the Natural Hair
What you’re going to do now is grab the extension hair you’re using for your box braid. Position the extension hair around the section of natural hair.
This creates the foundation for your traditional installation. Make sure it’s well positioned close to the scalp. Otherwise, you may notice that the thickness of the braid is uneven.
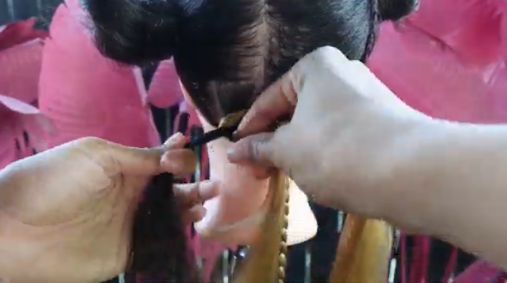
Step 3: Flip the Extension Hair Upward
Next, flip the extension hair upward. After making this movement, you should have three strands:
One extension strand
One natural hair strand
One extension strand
Don’t worry about the hair length now! You can trim the remaining extension hair once you’ve reached your client’s desired length.
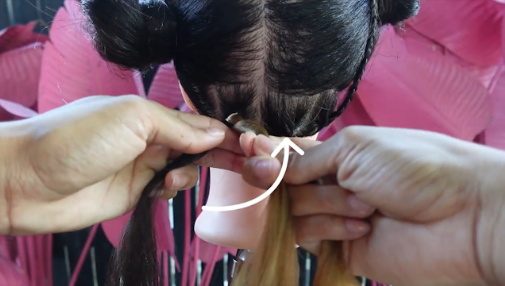
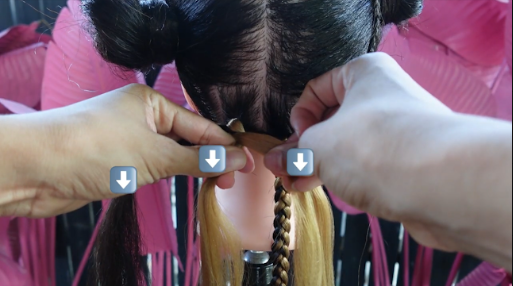
Step 4: Identify Your Three Strands
Take a moment to identify all three strands before continuing. This may sound like a step you can skip, but don’t! Being able to control these three strands individually is especially important when you’re first learning how to box braid.
Make sure you can tell which of your fingers controls each strand. At no point in the braiding process should you be second-guessing!
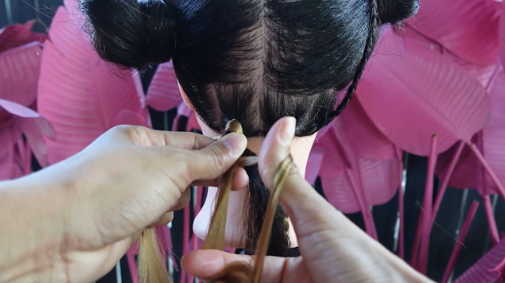
Step 5: Begin Your Three-Strand Braid
Once your three strands are positioned correctly, it is time to begin braiding using the basic three-strand braid technique.
Here’s a secret many beginner braiders don’t know: Keep your fingers close to the point where the strands intersect. This gives you greater control and helps you maintain consistent tension.
Remember the importance of grip: Too much tension may cause pain to your client, but too little results in loose braids that don’t last and fail to keep natural hair concealed and protected. It’s like being a surgeon: You must be absolutely precise! The good news is, once you master the right grip, your fingers develop the necessary muscular memory to repeat it again and again.
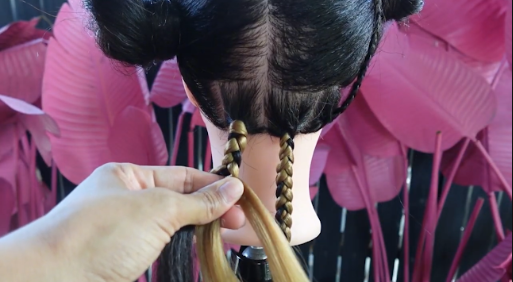
Step 6: Perform the Union
As you braid, the natural hair will eventually move to the right side. When this happens, you need to hold the braid securely with your left thumb.
And here’s the key: You will take approximately one-third of the middle extension strand and combine it with the natural hair strand. We call this step the union.
The purpose of the union is to combine the natural hair with the extension hair, helping secure the braid and preventing the extension from slipping. In other words, the extension hair begins wrapped around the natural hair, but if you don’t perform the union, the braid won’t hold itself.
My recommendation is to perform the union as early as possible. This is because the sooner the natural hair is combined with the extension hair, the sooner it becomes secured within the braid.
Step 7: Continue Braiding
After completing the union, it’s time to relax! Just continue braiding normally using your three-strand braid technique. I always tell my students that braiding is, in fact, the easiest part of creating a braided hairstyle: Creating the parts, learning the right grip, and, in the case of box braids, performing the union—all those are more difficult steps you need to learn.
Finally, when you reach the desired length, you seal the ends of the braid with the chosen method (hot water, iron, beads, etc.)
There you go! You’ve created your first box braid with the traditional method.
Now, all that’s left is for you to repeat this process for each section until you’ve completed all your box braids.
Traditional Box Braids vs. Knotless Box Braids
You may have seen beautiful knotless braids and wonder how to braid them. After all, they can’t be much more complicated than traditional braids, can they?
Well, they have their tricks!
In a few words, the biggest difference for a beginner to understand is when the extension hair is added.
With traditional box braids, the extension hair is attached at the beginning.
With knotless box braids, you begin braiding the natural hair and gradually add extension hair as you work.
Both methods create individual braids, but learning the installation technique for each requires slightly different skills. Don’t worry! After mastering the traditional method, you’ll learn the knotless method at ease. Our box braids course will equip you with every necessary tool!
(traditional vs knotless resource)
Practice the Technique Before Focusing on Speed
Many first-time braiders complain about how they don’t braid fast enough, but my answer is always the same: Consistency is more important than speed. Don’t risk getting uneven or weird-looking box braids just to finish earlier.
Another problem with speed is that you may get fixated on specific mistakes, and it’s always more difficult to unlearn a certain technique that doesn’t work than to learn the right technique from scratch.
So if you’re just learning how to box braid, don’t make speed your first goal.
Instead, practice each movement separately:
Create your section.
Position the extension hair.
Wrap and flip the extension hair.
Identify your three strands.
Begin your three-strand braid.
Perform the union.
Continue braiding.
Once these movements become familiar, you’ll naturally become faster and more comfortable. Let speed be the natural consequence of your confidence, practice, and determination to bring the best out of you in every braided hairstyle you create.
There you go! In this step-by-step braid tutorial, we’ve seen the basics of how to braid box braids with the traditional method. Want to learn more? Continue learning cornrows, box braids, twists, and the fundamental techniques behind braiding at HowToBraid.com.
As a special launch sale, all of our courses are 67% off! Not only will you save $94, but you’ll learn a valuable skill you’ll be able to monetize—even if you don’t want to be a professional braider. Think about the money you’ll save by being able to braid your own hair or your children’s. Learn how to braid like a pro and start making money doing something you enjoy!
Don’t miss out! Sign up for our braiding courses at HowToBraid.com