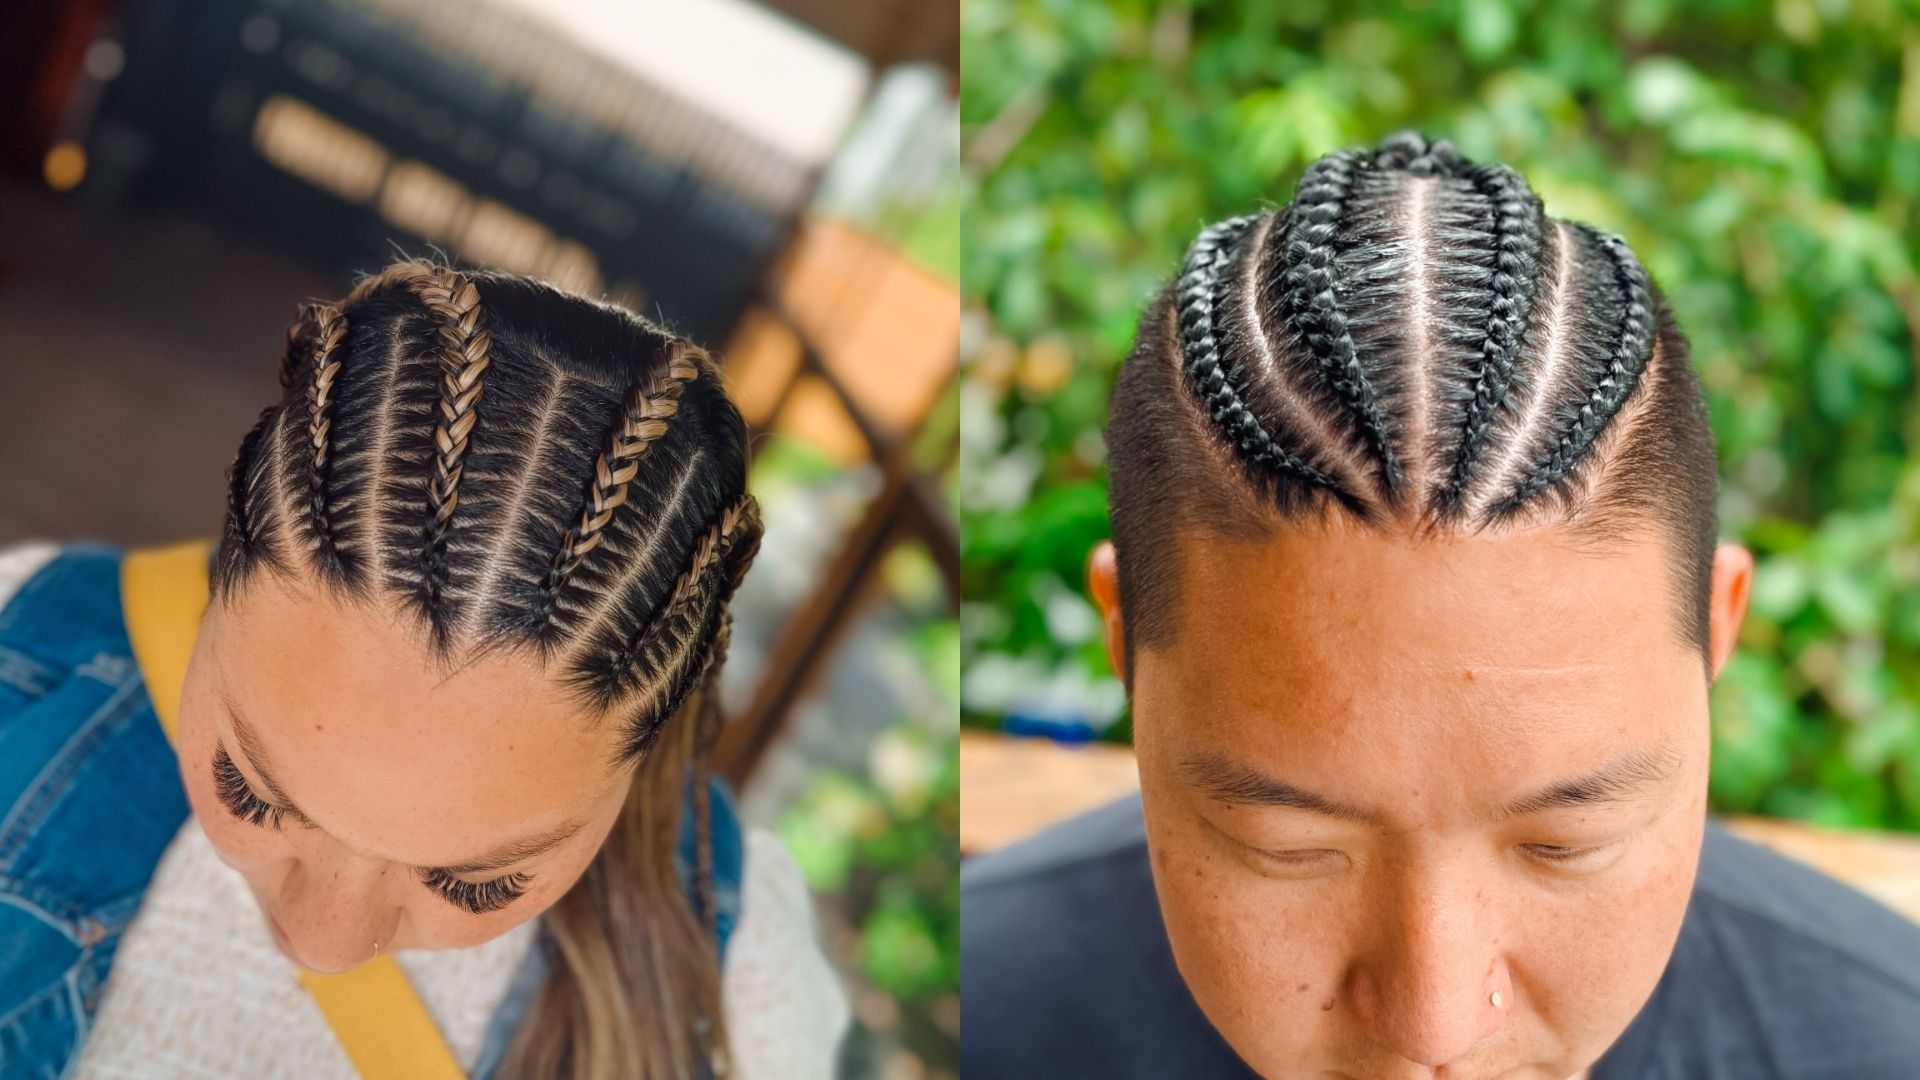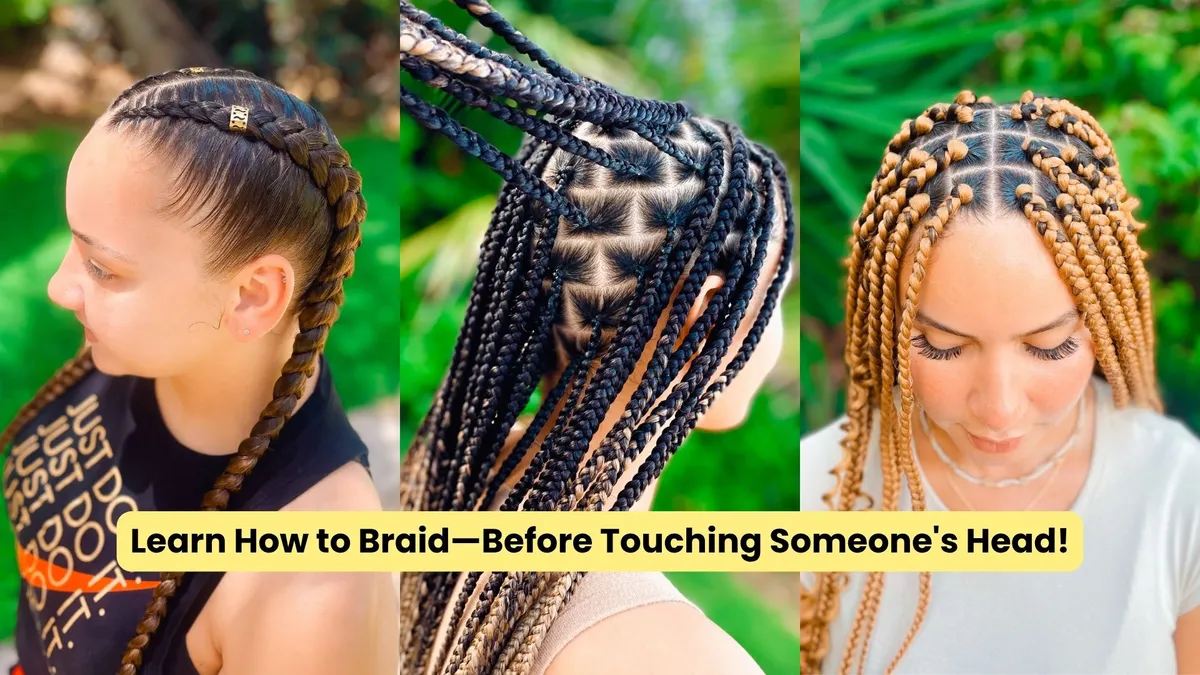
Learn How to Braid—Before Touching Someone's Head!
Hello, Sunnies! When we want to know how to braid professionally, we’re already dreaming about our paying clientele and making an income doing what we love. Still, there are risks in attempting to braid professionally before being ready (Shhh: Here’s a secret! If you need braiding lessons, our new courses are on launch sale at 67% off!)
Professional braiders receive free advertising simply by creating great braids. After you create a beautiful braided hairstyle for any given client, they’ll get asked a lot, “Who did your braids?” There you go! Free word-of-mouth advertising.
Unfortunately, what no braid tutorial will tell you is that the opposite is also true: Give your client loose, uneven, or messy braids, and not only will they never return, but they may also post poor online reviews of your braiding services.
That’s why you should learn how to braid like a pro before charging people for your work. How to do that? In this article, I’ll give you tips on how to braid without risking your reputation. We’ll practice some techniques before putting your hands in someone else’s hair. You’ll see exactly what to do and how to do it—only then will you become braiding professionally. But don’t worry! With our method, this will happen way before you think.
Step 1: Find Your Inner Motivation
Learning how to braid is like acquiring any other skill: The more motivated you are, the better. By the way, every reason is valid! It doesn’t matter if you want to become a professional braider and launch your career, or you’re just a busy parent trying to figure out a way to save time through the morning rush.
Before putting time and energy into a braiding course, be confident that it will WORK. Visualize yourself creating amazing, long-lasting braids. People showing up, asking for their favorite braided hairstyle, and you proudly making them feel great about themselves. Imagine the texture of hair gently flowing through your fast-moving fingers.
As a braiding instructor, my purpose is to give you confidence and clarity and unlock your true, unlimited potential. What I need from you is implementation—commitment and consistency. Only you can provide them!
Step 2: Get the Necessary Supplies
You already have the most important tool to braid: Your hands!
Still, if you want to learn how to braid professionally, you’ll need some basic supplies. Any good braiding course is necessarily hands-on, so it’s a good idea to invest some money in the necessary stuff before attempting to braid someone. Not having the right braiding comb, or lacking some hair products, will result in poor outcomes. This is what you’ll need:
Rat-Tail Comb: This is your main tool for making precise parts.
Hair Clips: They’re economical and easy to find. You’ll use them to separate sections while you braid.
Gel: It’s the perfect product to define and hold the braids. You’ll only use small amounts each time.
Mannequin Head: It’s definitely a worthwhile investment since it’s your best ally for stress-free practice.
Kanekalon Extensions: The best hair for feed-in braids. It comes in a wide variety of colors.
Electric Jar: For moisturizing the extension hair.
Braiding Hair Rack: For holding the extension hair while you braid.
Towels: For keeping your work area nice and clean.
Beads and Rubber Bands: For properly sealing the ends of your braids.
If you go to the market or shop online, you may feel overwhelmed by staring at so many different products and brands! Which should you choose? Don’t worry! I’ve set this Amazon list to help you find everything in one place. Also, you don't need to buy everything at once. Start with the rat-tail comb, clips, gel, and mannequin head. That's all you need to begin practicing!
Step 3: Identify What’s Holding You Back
If you’ve never attempted braiding before, you may skip this step. But chances are this isn’t your first try. Many students come to their first braiding lesson concerned about their current technique. This may happen to you as well: You already have an idea of how to braid, but your creations aren’t what you’d expect. The worst part is, you keep practicing and practicing, but still make the same mistakes over and over.
Don’t worry! You’ve come to the right place. You see, after becoming a professional braider, I realized that practicing for several hours isn’t the answer: You need to know what you’re doing and how to do it. In other words, you need to learn the right braiding technique.
That’s why I developed the Five Braid ActionTM system. Once you figure out what’s wrong with your current braids, you can work on that specific braiding action and fix your mistakes to get professional results. And you can do it fast: I’ve seen many students improving their results just after TWO HOURS. All you need to figure out is what to work on! Here are some common areas to improve, such as the following:
Uneven braids: You need to work on your parts. Maybe you’re attempting two braids, but one is way thicker than the other. This means you are failing to create a middle part that perfectly divides your client’s hair in two. Clean parts are the canvas from which to create any braided hairstyle.
Loose braids: You need to work on your grip. Maybe you’re afraid to cause pain, so you refrain from applying tension when you pull the hair strands. Still, you need firmness so your braids stay in place later.
Painful hands after braiding: Maybe your braids look amazing, but you wonder how on Earth you're supposed to braid a whole head of small braids when your hands feel numb after a while. Does it have to hurt this much? No, it doesn’t. You just need to switch to the right braiding technique. Many times, it’s about turning your underhand method to the overhand method.
Braids with too noticeable extensions: Adding extension hair to box braids is a challenge for many amateur braiders. If your braids become noticeably thicker where the extension actually begins, you must learn the feed-in. If your client’s hair peeks through the extensions, then you must work on the fourth braid action to hide it.
As you can see, no matter what seems odd about your braids, you can easily fix it by addressing the cause. Do you need more braid troubleshooting tips? You can find them here and here!
Step 4: Do Your Research
Before starting to braid a client, you need to learn all that you can about the requested hairstyle. Of course, there’s always a first time for creating a specific braided hairstyle, but you can’t improvise or second-guess as you go. Study as many pictures as possible from different angles, and learn from the size charts.
Even if this is the first time you’re braiding box braids for a client, you should feel confident in your skills and display such confidence during the braiding session.
Step 5: Move On to the Mannequin Head
After studying the hairstyle, it’s time to practice it! How about leaving all your doubts and hesitations behind before meeting with your client? That’s what the mannequin’s head is for! You can use it for practicing your parts, grip, feed-in, hide, and seal without risking a poor review or overlapping braiding appointments.
Take as much time as you need when you’re working on your mannequin. This is not the time to achieve perfection! Instead, focus on completing the cornrows and developing control of the technique. Just remember to set your mannequin by placing its head in a stable, comfortable position. Prepare your braiding comb and clips before you start.
Unlike a real client, the mannequin won’t complain if you take too long or you need to start over. Always remember that consistency is more important than speed. The mannequin won’t feel any pain, so you can work on perfecting your grip without risking pulling someone’s hair. Plus, you can create the same hairstyle over and over so you can work on your hand position until it feels natural.
Step 6: Learn By Observing the Client’s Head
Okay, so the big day has arrived and you’re ready to braid your first client! Yay! Before actually starting to braid, you still have work to do. During the pre-braiding session (when you talk with them about their desired hairstyle and you discuss details such as extension color and braid length), seize the chance to study their hair type and evaluate their conditions.
See if their hair is clean—or offer them to wash it at the studio.
Notice their particular hair type.
Watch out for signals of dry scalp or other conditions that may need special hair products.
We’ll see more about the pre-braiding session in future articles!
If you’re looking forward to discovering all the secrets on how to braid, here’s some great news! Our new courses are on a special launch sale, and you can get them at 67% off 🔥
Don’t miss the chance to save $94 on our launch special! Sign up for your braiding courses before it goes off.