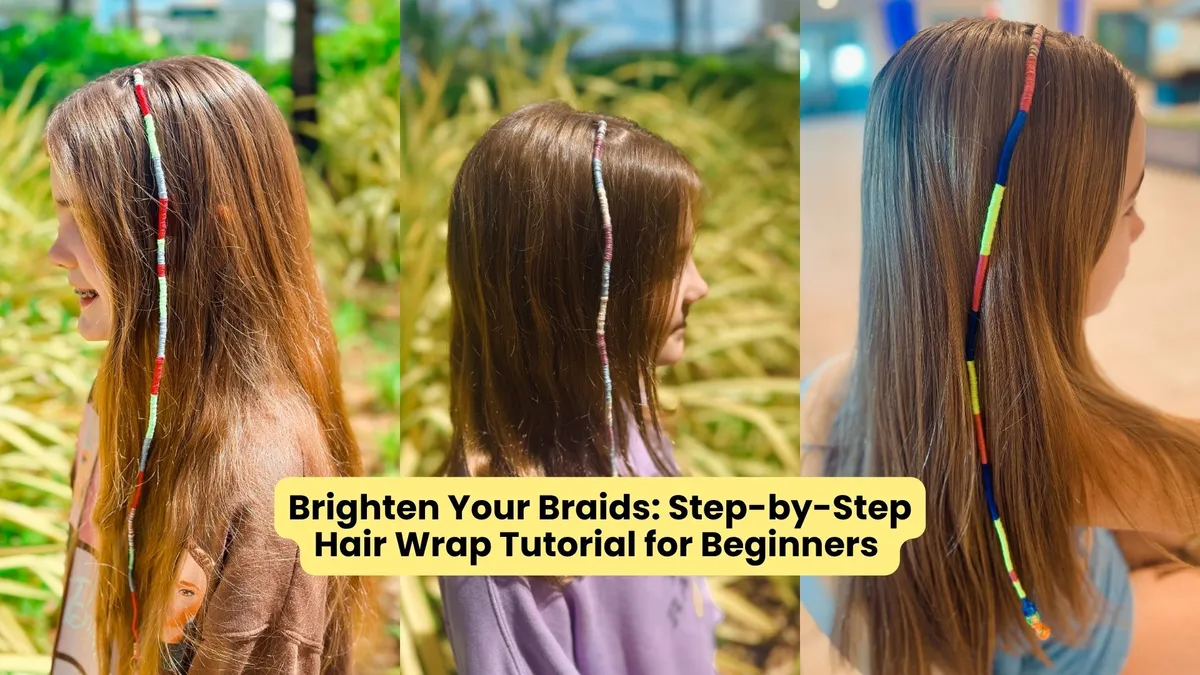
Brighten Your Braids: Step-by-Step Hair Wrap Tutorial for Beginners
Don’t we all love hair wraps? Always a favorite for children, they are one of the most playful, expressive, and versatile styles in hair styling. Plus, they’re suitable for many occasions! You can easily use a hair wrap to transform a beach hairstyle, keep it as a vacation souvenir when you go back to school, or experiment with hair colors without using chemicals. In any case, learning how to create a long-lasting hair wrap is a fantastic skill to add to your toolkit.
Many beginners assume that intricate-looking thread wraps require professional braiding experience or long hours of work. Here’s the good news! Wrapping a section of hair is one of the quickest, most accessible techniques you can learn. With a few basic materials, consistent tension, and a clear sequence, you can create eye-catching wraps that stay secure for days or even weeks.
In this beginner-friendly tutorial, we will break down the entire process step by step. Let’s begin to guide your hands through every twist, wrap, and color transition.
What You’ll Need
Before starting, collect all the necessary braiding products so your styling session runs smoothly without interruptions.
Embroidery floss or yarn: Choose 2 to 4 complementary colors. Vibrant shades create a shiny contrast, while pastel or earth tones offer a subtle accent.
Decorative beads or charms: Lightweight wooden, plastic, or metallic beads add weight and personality to the ends.
Latch hook or bead threader: Essential for smoothly pulling the thread ends through beads without fraying.
Braiding comb and clips: A fine-tooth tail comb ensures clean partings, while clips keep surrounding hair safely out of the way.
Mini elastic bands: Helpful for securing the base anchor braid before wrapping.
Preparing the Hair Base
Start with clean, detangled hair. Select a small section where you want your wrap to sit. Popular choices include right behind the ear, tucked beneath a top layer of hair for a peek-a-boo effect, or along the front hairline to frame the face.
Isolate the chosen section using your tail comb to form a neat, square or rounded base. Clip all surrounding hair securely out of the way. Next, weave the isolated section into a tight three-strand braid from root to end. Securing the base with a small braid gives the thread a solid, non-slip foundation to anchor onto, ensuring your wrap doesn’t slide down over time.
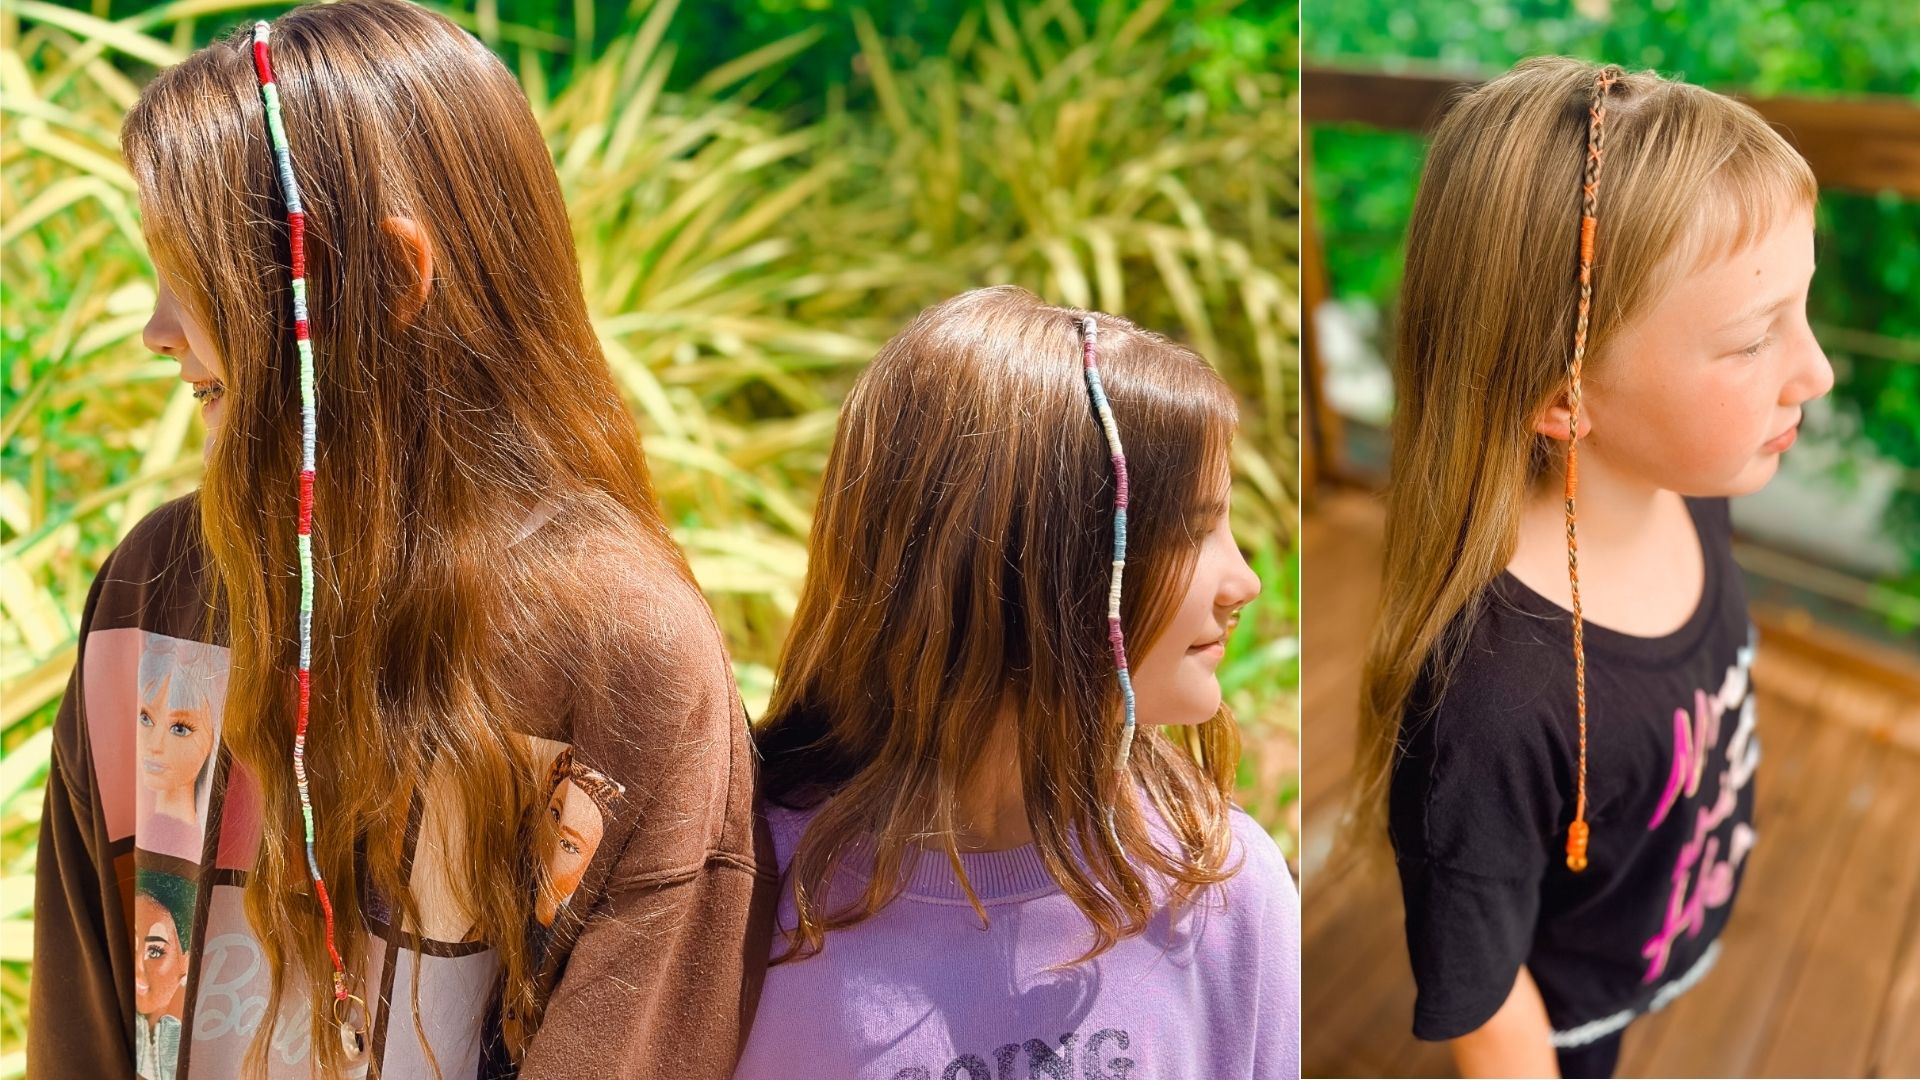
Step-by-Step Guide: Wrapping the Thread
Once your braid is secured, it is time to measure and anchor your embroidery floss.
Step 1: Measuring and Anchoring the Thread
Cut your chosen strands of thread so they roughly double the braid’s length. It may seem like a lot of thread, but this extra length accounts for the tight overlapping needed to cover the hair completely. Hold all your colorful threads together, find the midpoint, and lay it against the root of the braid.
To hold the strands firmly, tie a simple knot right at the base of the braid, adjacent to the scalp. Leave equal lengths of thread hanging down alongside the hair strand. Divide the threads so that one color is active in your dominant hand, while the remaining strands rest parallel against the braid, blending in with the core.
Step 2: The Tight Spiral Wrapping Technique
Hold the base of the braid firmly between your thumb and index finger to maintain steady tension. Take your primary active thread and begin wrapping it tightly around both the inner braid core and the inactive threads.
Work your way downward in smooth loops tightly close to one another. Each turn should be placed right against the previous ring without leaving gaps or letting the underlying hair peek through. The key here is applying uniform pressure: If you wrap too loosely, this causes the thread to bunch up later, while wrapping with even tension creates a smooth, polished cylindrical finish.
Step 3: Changing Colors Seamlessly
Creating color blocks, stripes, or alternating patterns is where your creativity comes alive. When you are ready to switch from your first color to a second color:
Lay the current active thread straight down against the center braid core so it joins the dormant strands.
Select your next color from the bundle and pull it outward.
Begin wrapping the new thread tightly over the place where the previous color stopped.
By tucking the old thread inside the core and overlaying the new thread directly over it, you keep the transition out of sight. This way, there is no need for extra knots in the middle of your wrap, keeping the profile sleek and continuous. Repeat this hand-over-hand pattern down the entire length of the hair strand to build multi-colored blocks or rainbow patterns.
Finishing Touches and Adding Beads
As you reach the end of the braid, leave about an inch of hair exposed or wrap down to the very end depending on what you like the most!
Step 4: Securing the End and Adding Beads
To prevent the thread from unraveling, make a loop with your active thread around the base of the wrap and pull the tail through to form a tight, discreet knot.
If you wish to add beads, slip your latch hook or bead threader through the center hole of your chosen bead. Hook the loose thread ends, and slide the bead up onto the tail of the wrap. Push the bead tightly up against your end knot.
Finish by tying two firm half-hitch knots directly under the bead to lock it into place. Trim away any excess thread, leaving a small, neat fringe or tassel at the bottom.
Tips for Long-Lasting Hair Wraps
Washing: You can wash your hair normally with a wrap installed! Simply squeeze gentle shampoo suds through the wrap without aggressive rubbing, then rinse thoroughly and pat dry with a towel.
Drying: Allow the cotton thread to dry completely to maintain its vibrant color and tension.
Removal: When you are ready to remove the wrap, carefully snip the bottom knot below the bead, unwrap the thread layer by layer, and undo the base braid. Never cut near the top of the wrap to protect your natural hair.
Learn How to Braid with Us!
I hope you liked this beginner braiding tutorial! Are you ready to elevate your hair styling skills beyond the basics? Join our community of passionate braiders today! Whether you are styling for fun, family, or building a professional portfolio, our step-by-step masterclasses make learning intuitive and rewarding.
Sign up for a free lesson and start creating stunning hair transformations today!