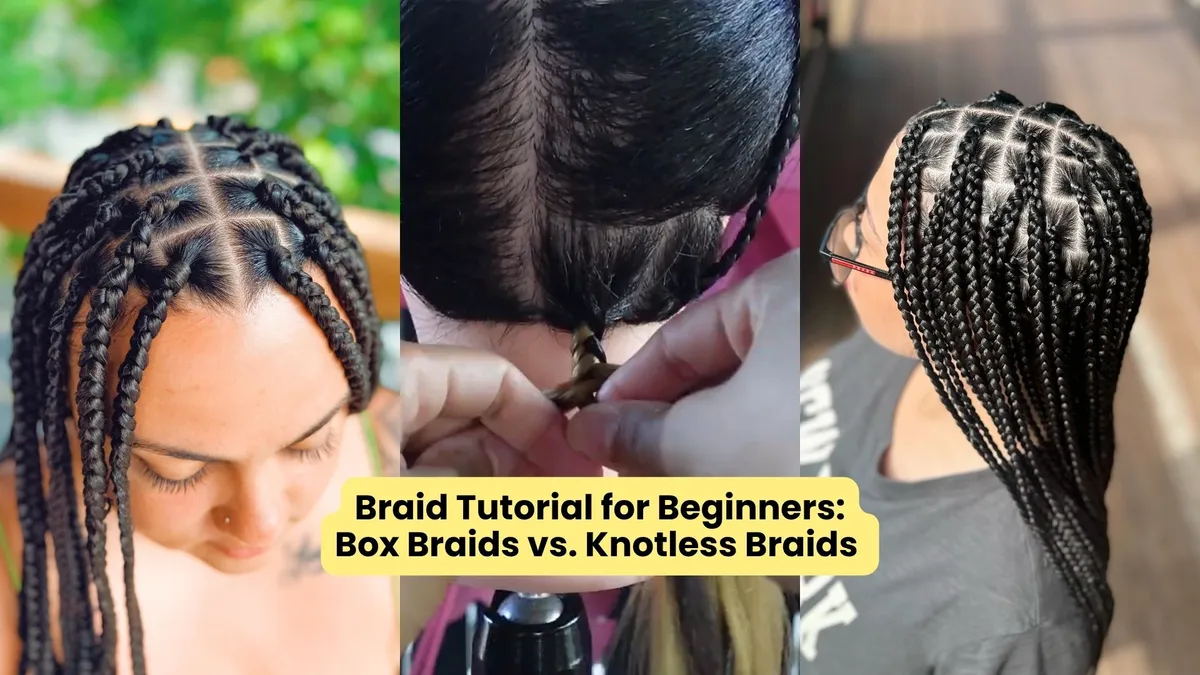
Braid Tutorial for Beginners: Box Braids vs. Knotless Braids
Hello, Sunnies! Here’s the step-by-step braid tutorial many of you have been asking for. When choosing a protective hairstyle, two of the most popular options you’ll encounter in a professional braiding studio are traditional box braids and knotless box braids (also known simply as knotless braids). While both styles use square or geometric scalp partings (boxes) and three-strand braiding techniques, the way you anchor the extension hair as you braid makes a huge difference in weight, tension, and overall appearance.
In this easy braid tutorial, we’ll see how to create each type of box braids step by step, so even if you’re a total newbie, you’ll be able to create amazing hairstyles from scratch.
Key Differences: Box Braids vs. Knotless Braids
Both traditional box braids and knotless braids are very popular because each style has its advantages (and fans!). At Sunny Braids, our professional braiding studio in Puerto Rico, we offer them both. Before diving into the steps, here is how the two techniques compare:
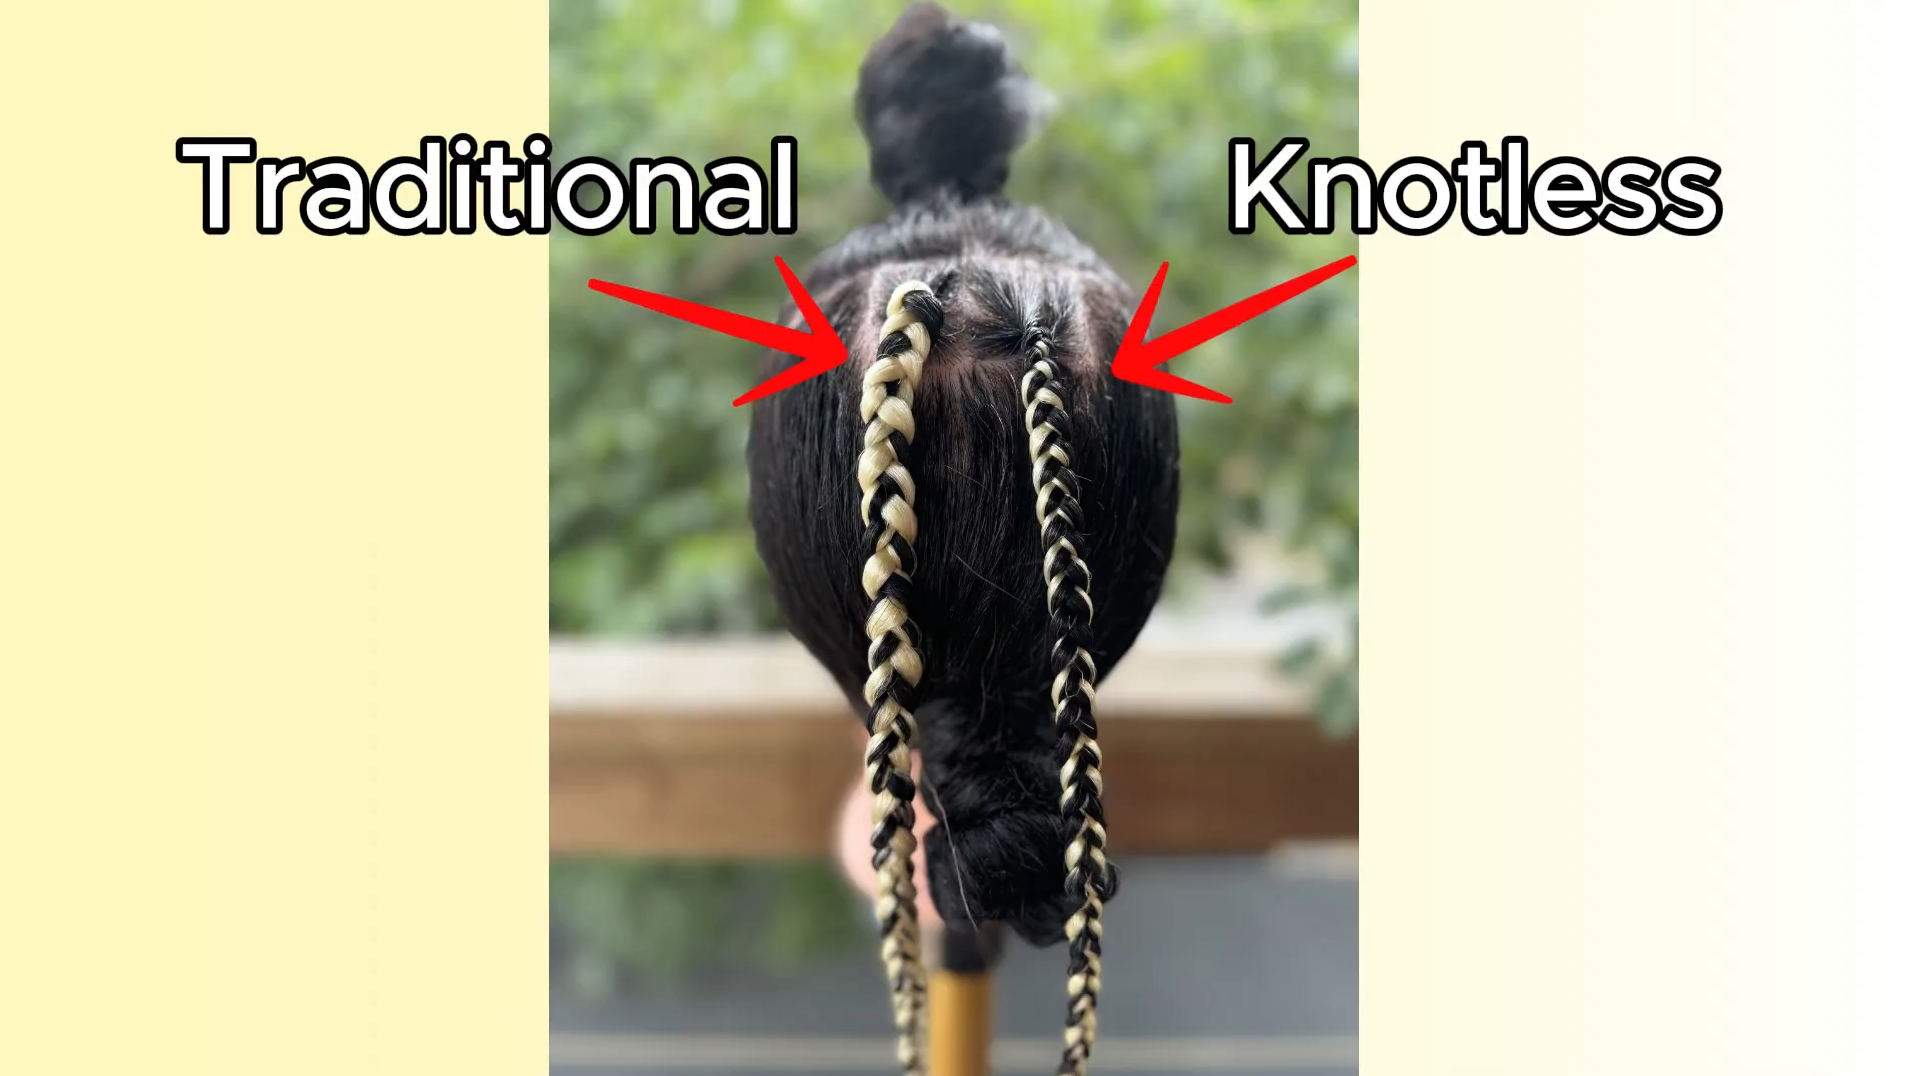
Traditional Box Braids
You fold a bundle of synthetic extension hair around the base of your natural hair section to form a small knot right at the scalp. You may notice in this image how this braid looks thicker than the knotless braid, and more extension hair is visible (which means more natural hair remains protected).
Pros
Compared to knotless braids, traditional box braids are faster to install, since you attach all extension hair at once.
As long as you perform the union properly (as we’ve seen here), these braids are very secure. They will stay in place for weeks!
This hairstyle lasts slightly longer on slippery hair textures.
Their classic look is a plus for many!
Cons
Traditional box braids cause high tension on the scalp and a heavier initial feel, which means they’re not the most appropriate style for those who suffer from sensitivity or scalp issues.
It requires a break-in period before up-dos.
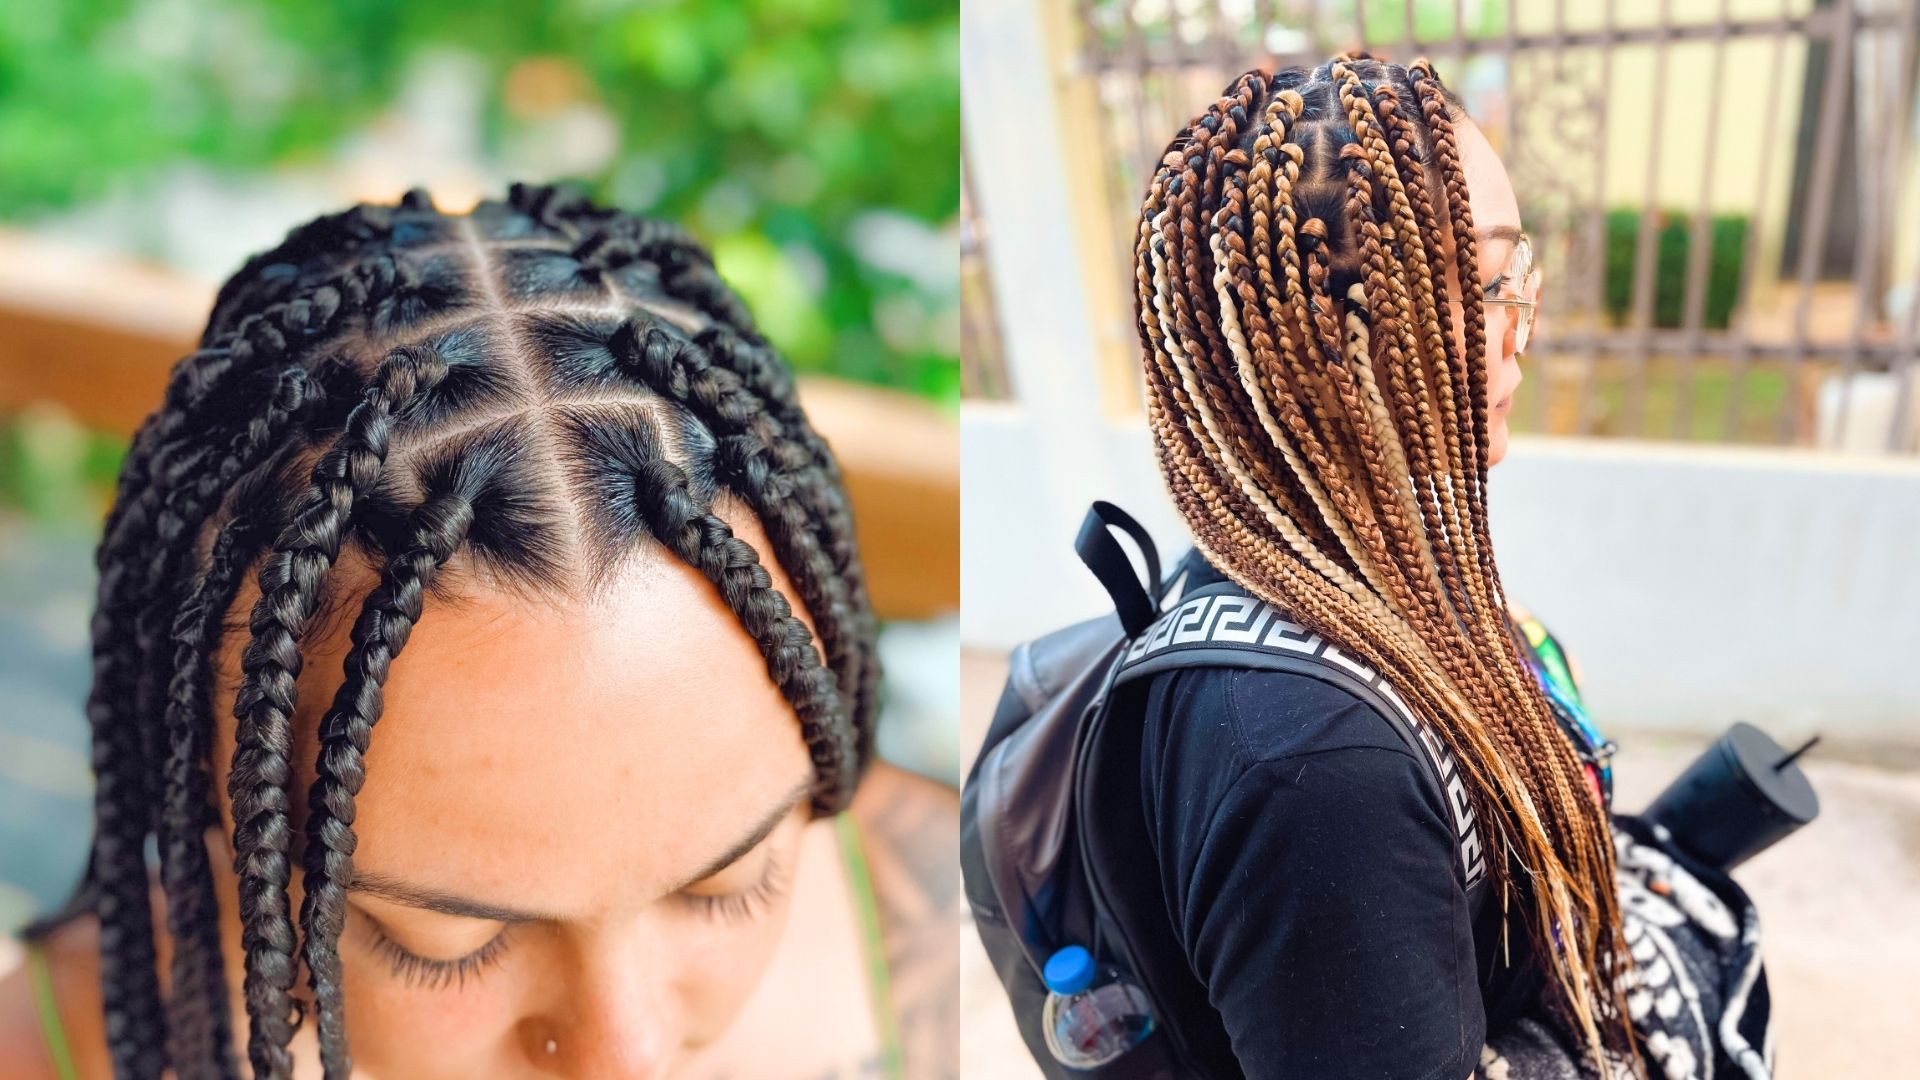
Knotless Braids
For this modern hairstyle, which has become trendy in the last few years, you start the braid using only your natural hair and feed in small pieces of extension hair gradually as you braid down.
Pros
This hairstyle creates zero scalp tension, as you begin braiding from the client’s hair.
Because they’re lightweight, knotless braids are more appropriate for sensitive scalps or people with thin hair.
They lie completely flat, offering immediate flexibility for styling.
They look more natural.
Cons
This style takes longer to install because it requires consistent feed-in hand placement.
They don’t last as long as traditional box braids since they’re more prone to frizz. This is because more natural hair is exposed.
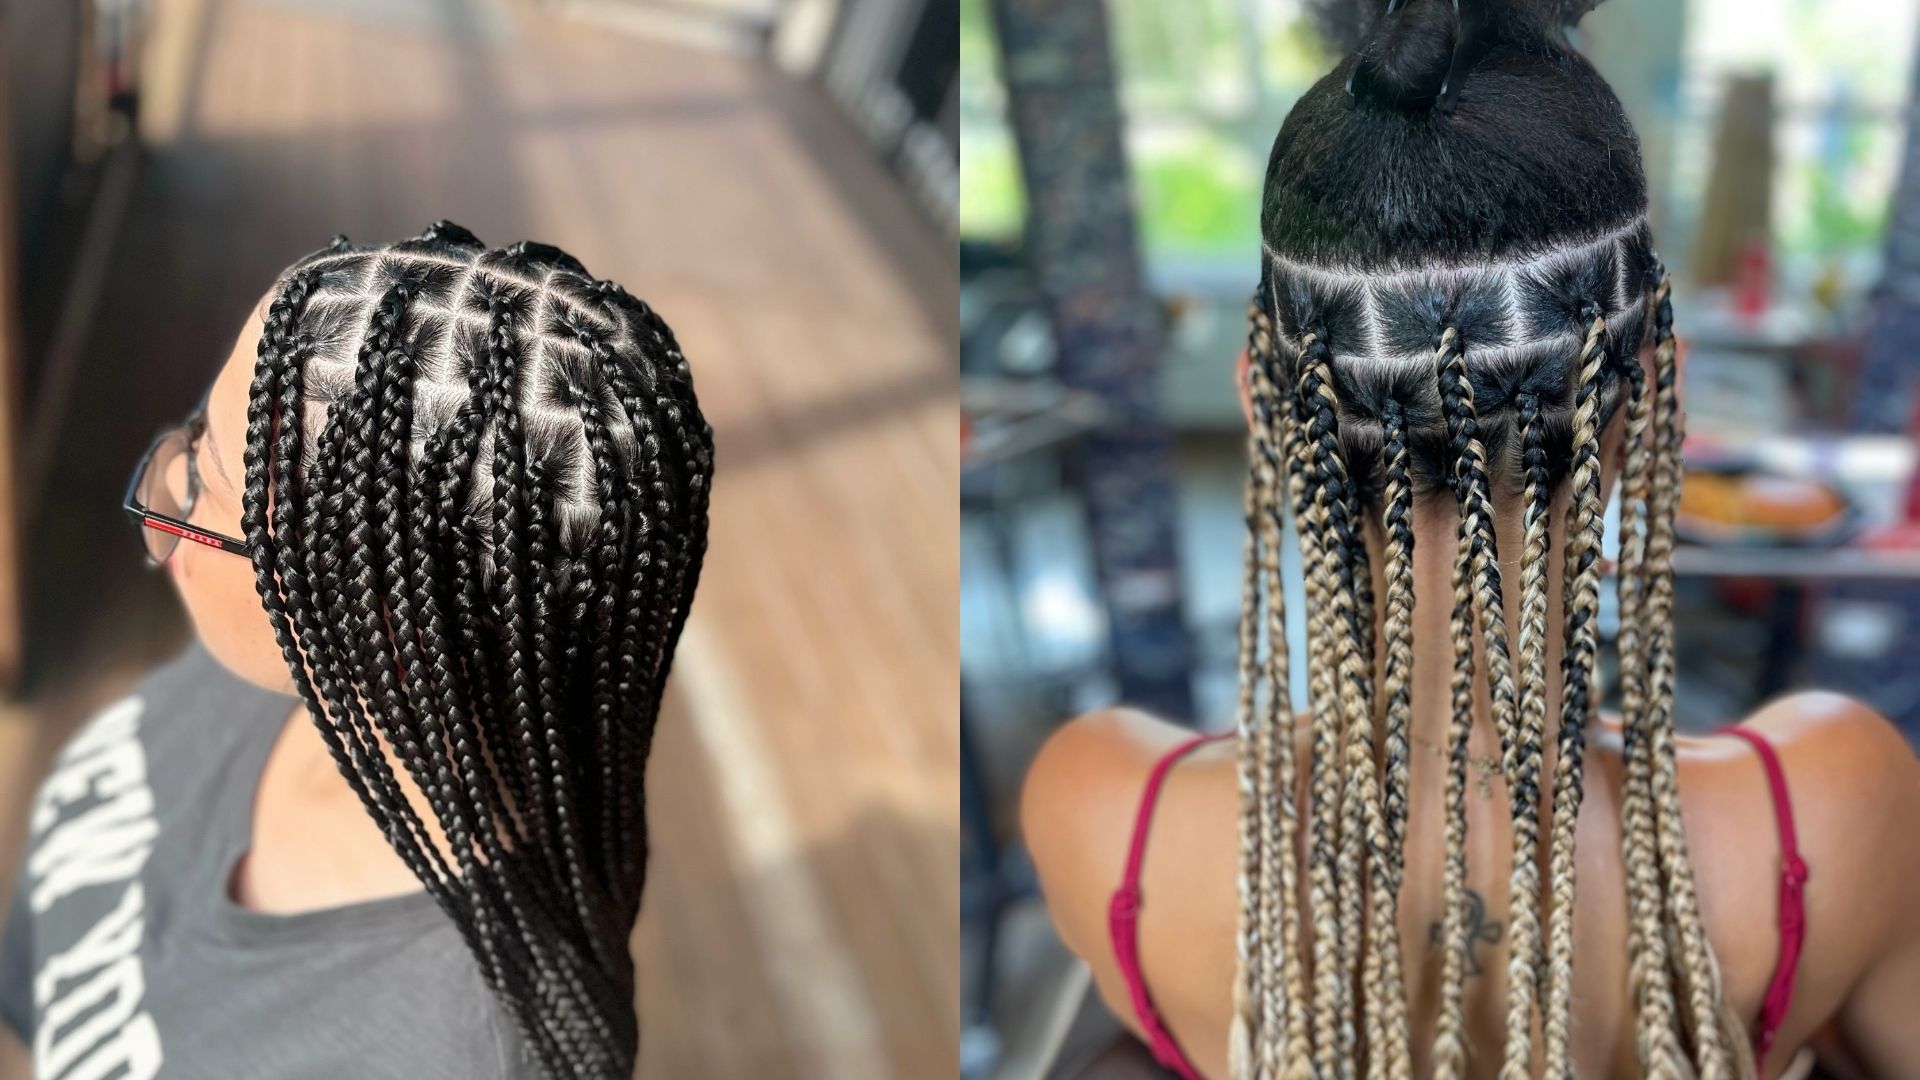
Step-by-Step: How to Braid Traditional Box Braids
Traditional box braids are ideal if you want a faster installation process and a firm grip right from the base.
1. Prep Hair & Parting:
Section clean, detangled hair into tidy square sections using a rat-tail comb. Apply edge control or braiding gel along the parted lines to keep flyaways smooth.
Tip: Clean, blow-dried hair is essential.
2. Prepare the Extension Hair:
Pre-stretch your synthetic braiding hair. Take a section of extension hair and fold it in half so it forms a "U" shape or loop with two tails.
3. Anchor at the Scalp:
This next step forms the traditional knot base. Use your natural section of hair as the central piece. Place the looped extension hair over the natural section so the natural hair sits between the two extension legs, creating three total working strands.
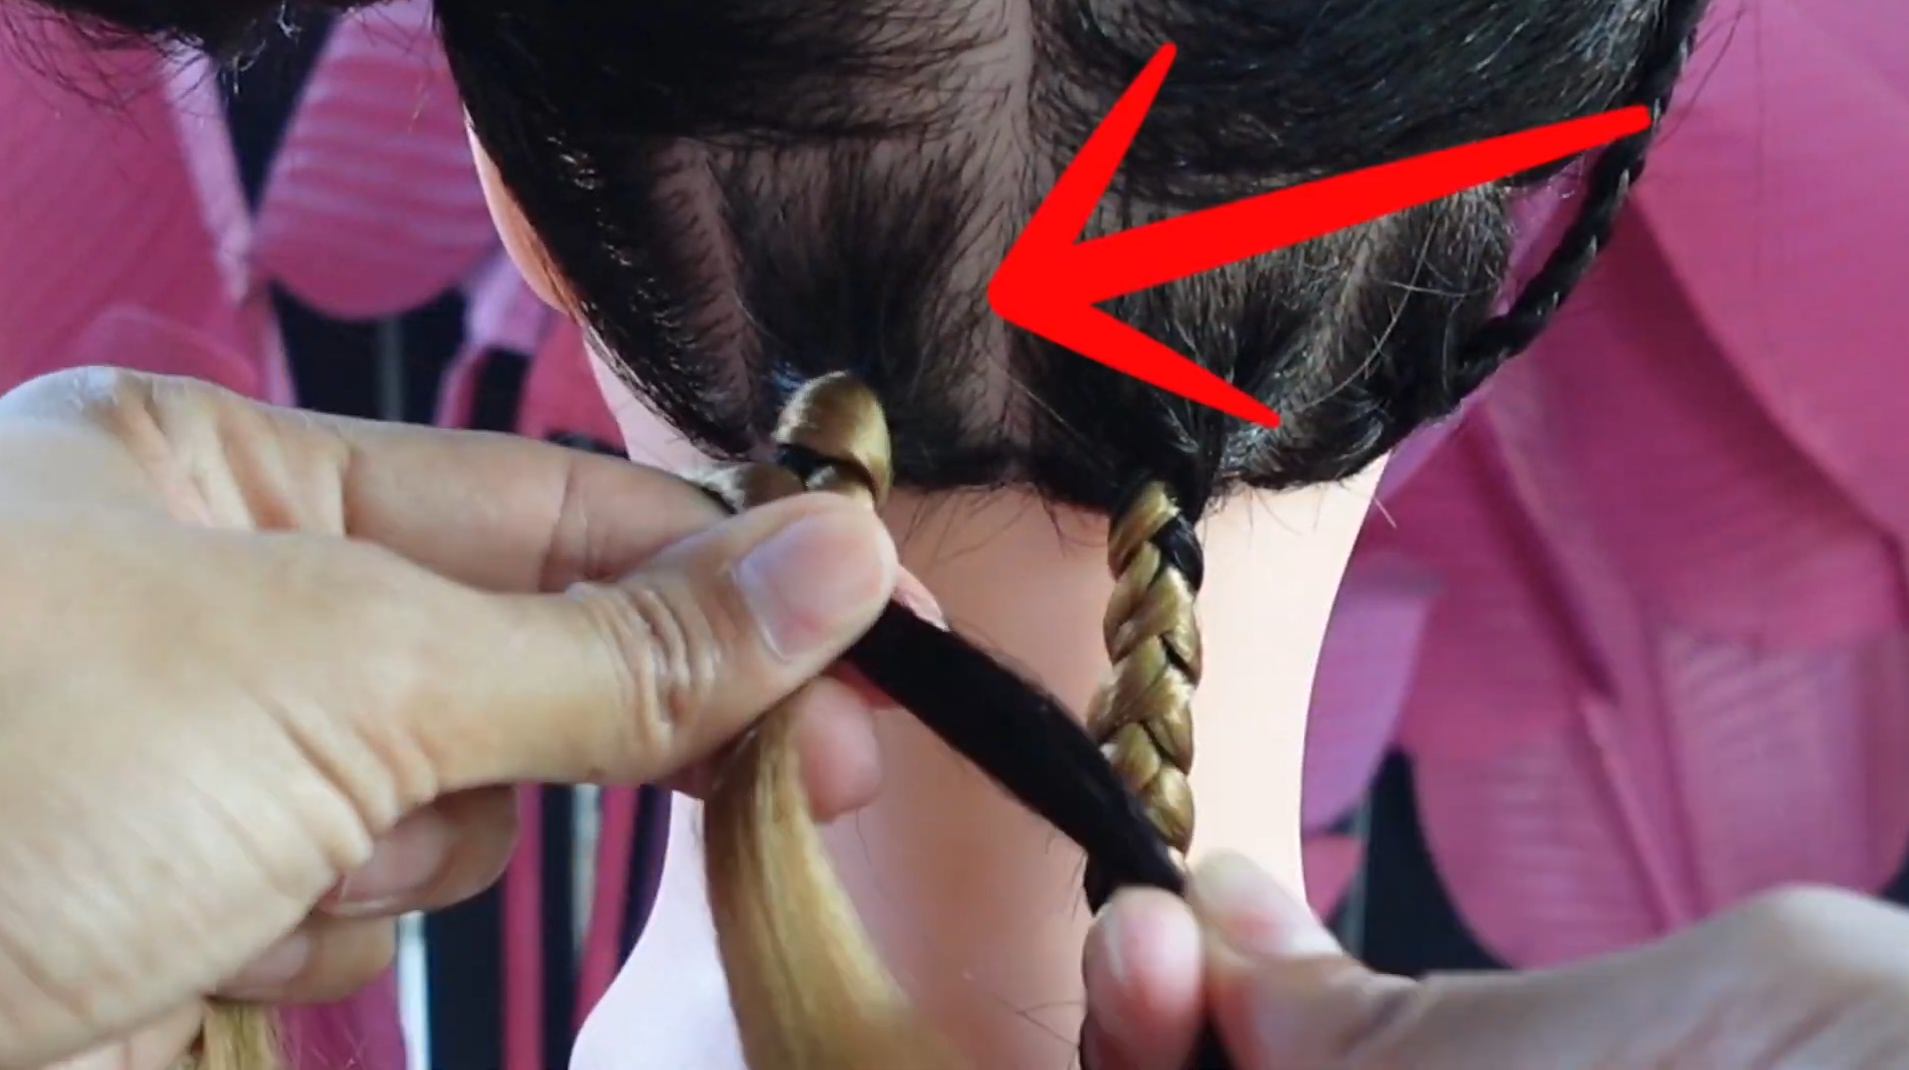
4. Cross & Lock the Knot:
Cross one extension tail over the middle natural strand to trap it securely against the scalp, creating the signature starting knot.
Tip: Maintain tight tension—the right grip is one of the Five Braid Actions in our system!
5. Braid Down & Seal:
Continue a standard 3-strand braid all the way down to the ends. Once completed across your whole head, dip the ends in hot water to seal.
Step-by-Step: How to Braid Knotless Braids
As we’ve seen, knotless braids are the best option for sensitive scalps, maximum flexibility, and a natural, flat-lying finish. Also, because of their natural appearance, they are sooo trendy and perfect to party all night long! Here’s how you braid them step-by-step.
1. Prep Hair & Section:
This step is exactly the same as for traditional box braids. Part the hair into square sections just like traditional box braids. Smooth the base with a light braiding jam or gel to create sharp lines.
2. Start with Natural Hair Only:
For knotless braids, you won’t use extensions at the scalp.
Divide the section of natural hair into three equal strands. Begin a traditional 3-strand braid for 2 to 3 stitches without adding any extension hair.
3. Feed in the First Extension Piece:
Take a thin piece of pre-stretched synthetic hair. Lay it between your thumb and index finger, weaving one side into the middle strand and the other side into an outer strand as you complete the next stitch.
Tip: Keep pieces thin for seamless blending.
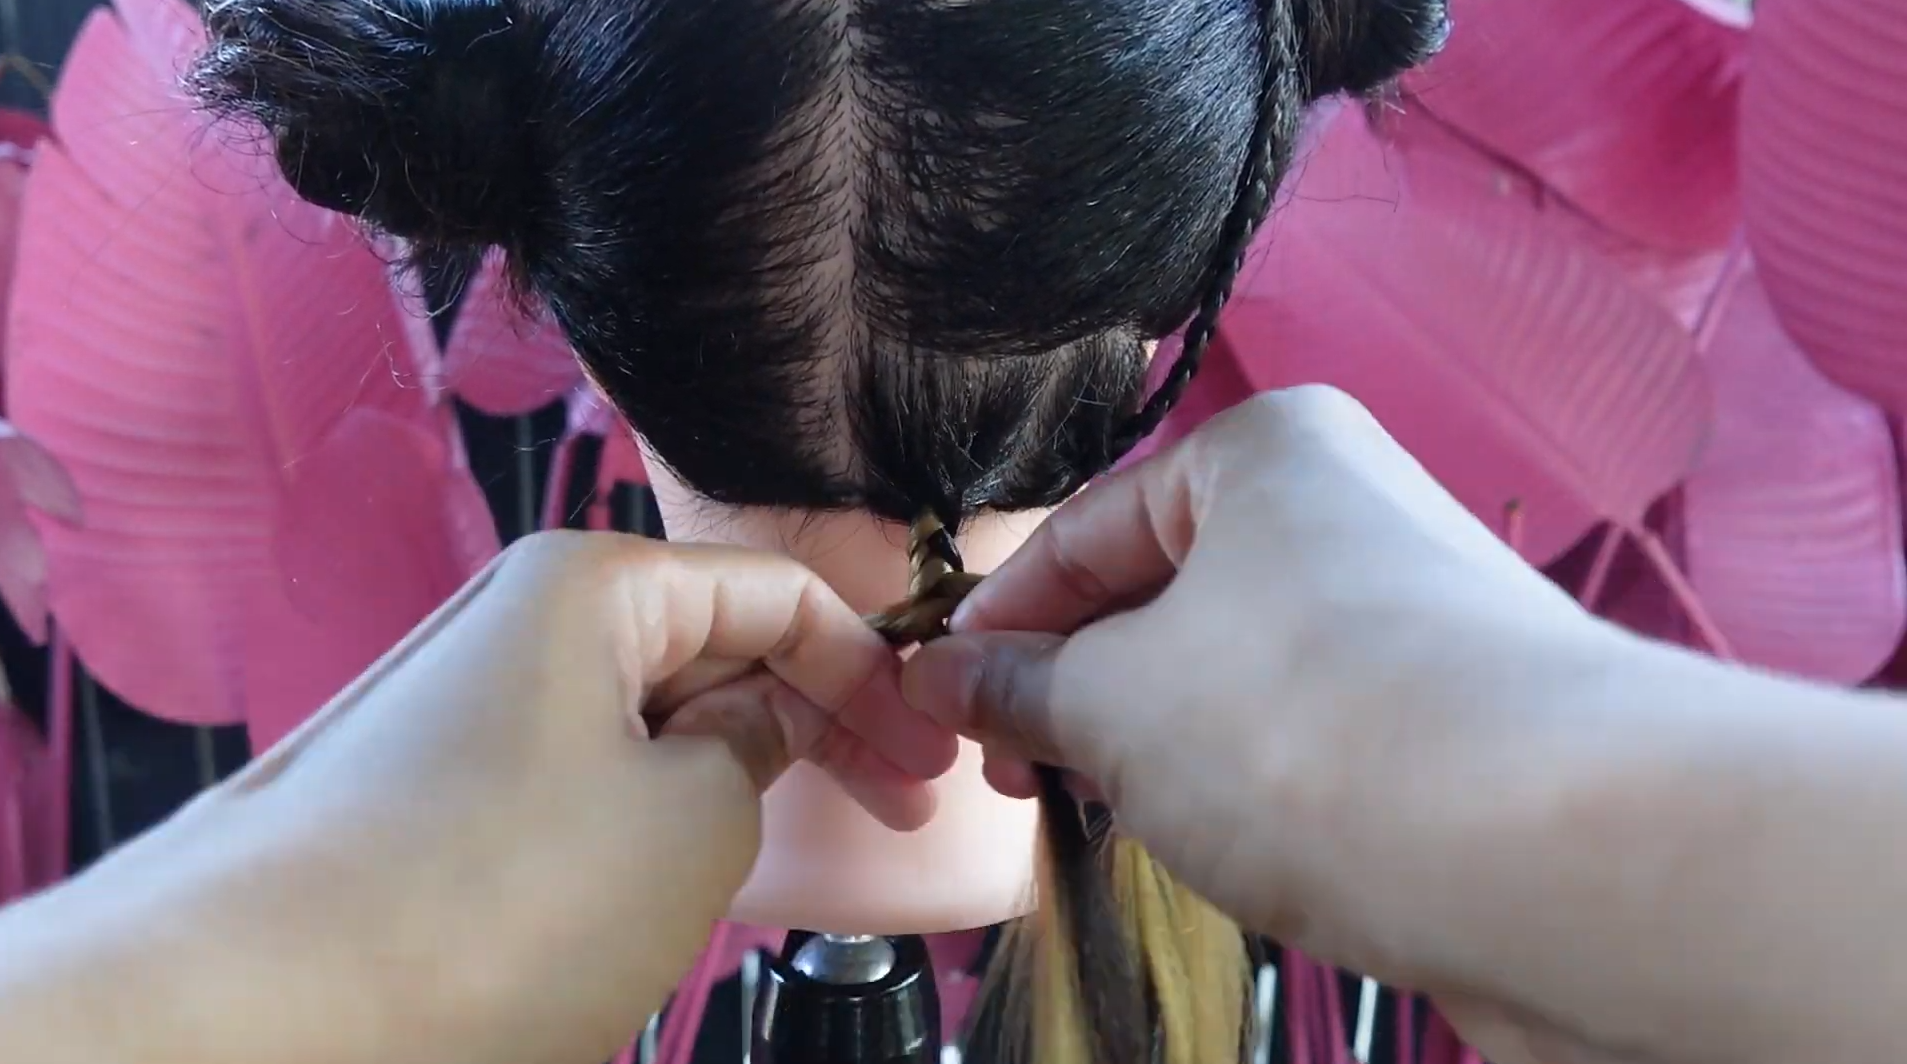
4. Gradually Add More Hair:
I usually use 3 to 4 feed-ins per braid.
Braid 1–2 more stitches, then feed in a second thin piece of extension hair. Repeat this process 3 to 4 times until the knotless braid reaches your desired thickness.
5. Braid Down & Finish:
Continue braiding down the length of the hair, keeping even tension. Dip the ends in hot water to finish and smooth with mousse.
There you go! Now you can start creating box braids in both styles, traditional or knotless.
Final Words
In Sunny Braids, we love teaching absolute beginners how to braid and improve their current technique if they already have some experience. Currently, we’re offering three braiding courses:
box braids
cornrows
twists
And here’s the best part! Since the courses are on launch sale, you can get ALL 3 OF THEM AT 67% OFF 😮 But hurry! This offer expires soon! Don’t miss out and get all three courses at this special price. The best part is that you’ll start seeing results in just two hours. That’s how effective our method is!
Join our beginner braiding courses and start creating traditional box braids, knotless box braids, and more!